
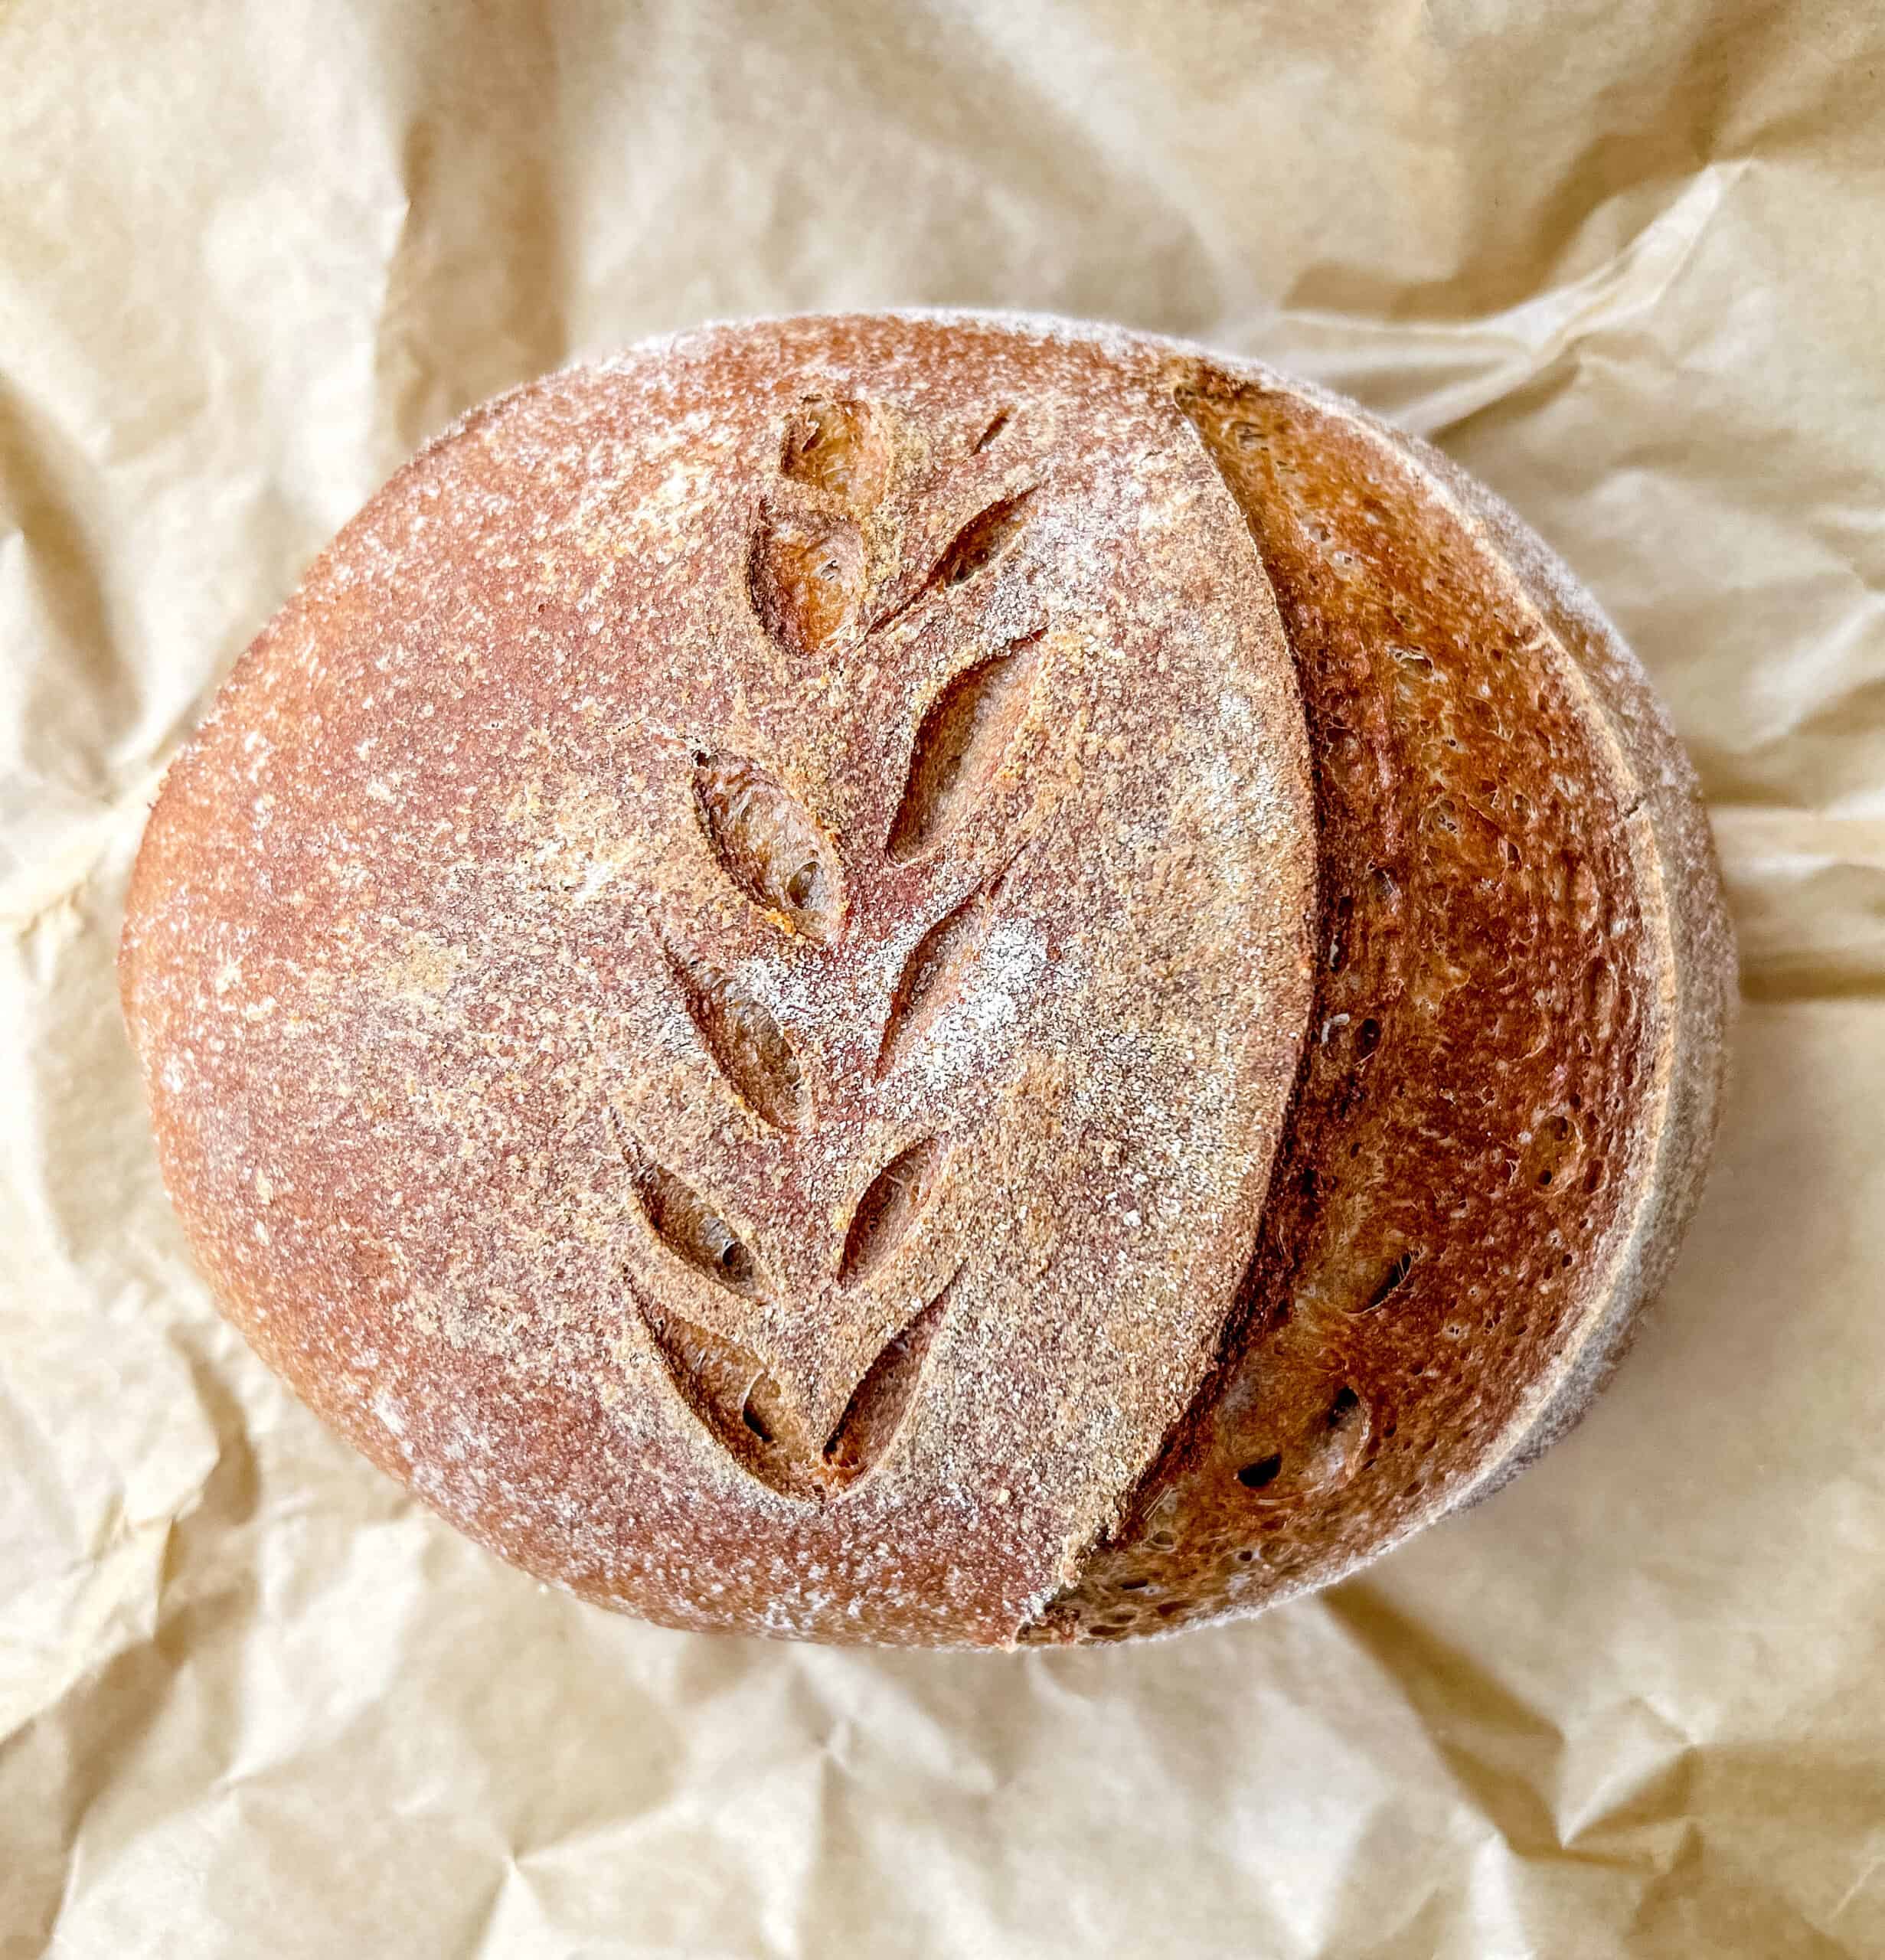
This scratch-made sourdough with fresh-milled flour delivers incredible flavor and wholesome nutrition without compromising on taste, texture, or quality!
Baking sourdough has become one of my favorite little joys—an act of love that fills our home with warmth, delicious smells, and the comforting aroma of freshly baked bread. Here’s my recipe for a wholesome sourdough loaf, made with fresh-milled whole wheat flour, which has quickly become a family favorite.
When I first started baking with fresh-milled flour, I quickly learned that it’s not as simple as swapping it into my old recipes. There was a lot of trial and error, and I spent plenty of time in the kitchen figuring it out. But after lots of patience and practice, I’ve finally perfected a sourdough loaf that’s both nourishing and delicious. No longer do I have to choose between fluffy, light loaves and the health benefits of whole grains! With this recipe, you’ll get a loaf that’s perfectly sour, wonderfully fluffy, and packed with nutrients.
Once you’ve mastered this recipe, your days of trial and error will be behind you, and you’ll be baking the most wholesome and delicious Fresh Milled Flour Sourdough Loaf with ease!
Equipment
1 Cambro Food Container Can also use a bowl, I highly suggest you use a clear bowl or container, 1 Dough Whisk, 1 Food Scale, 1 Food Mill, 1 Food Grade Shower Cap, 1 Banneton, 1 Tea Towel or Banneton Liner, 1 Dutch Oven,1 Baking Sheet (Not mandatory, but helps to keep the bottom of the loaf from burning), 1 bread lame, measuring spoons, measuring cups, and 1 food scale.
Ingredients
- Fresh Milled Kamut
- Fresh Milled Hard Red Wheat Berries
- Salt
- Maple Syrup
- Vital Wheat Gluten
- Spring Water
- Sourdough (Active and bubbly)
Instructions
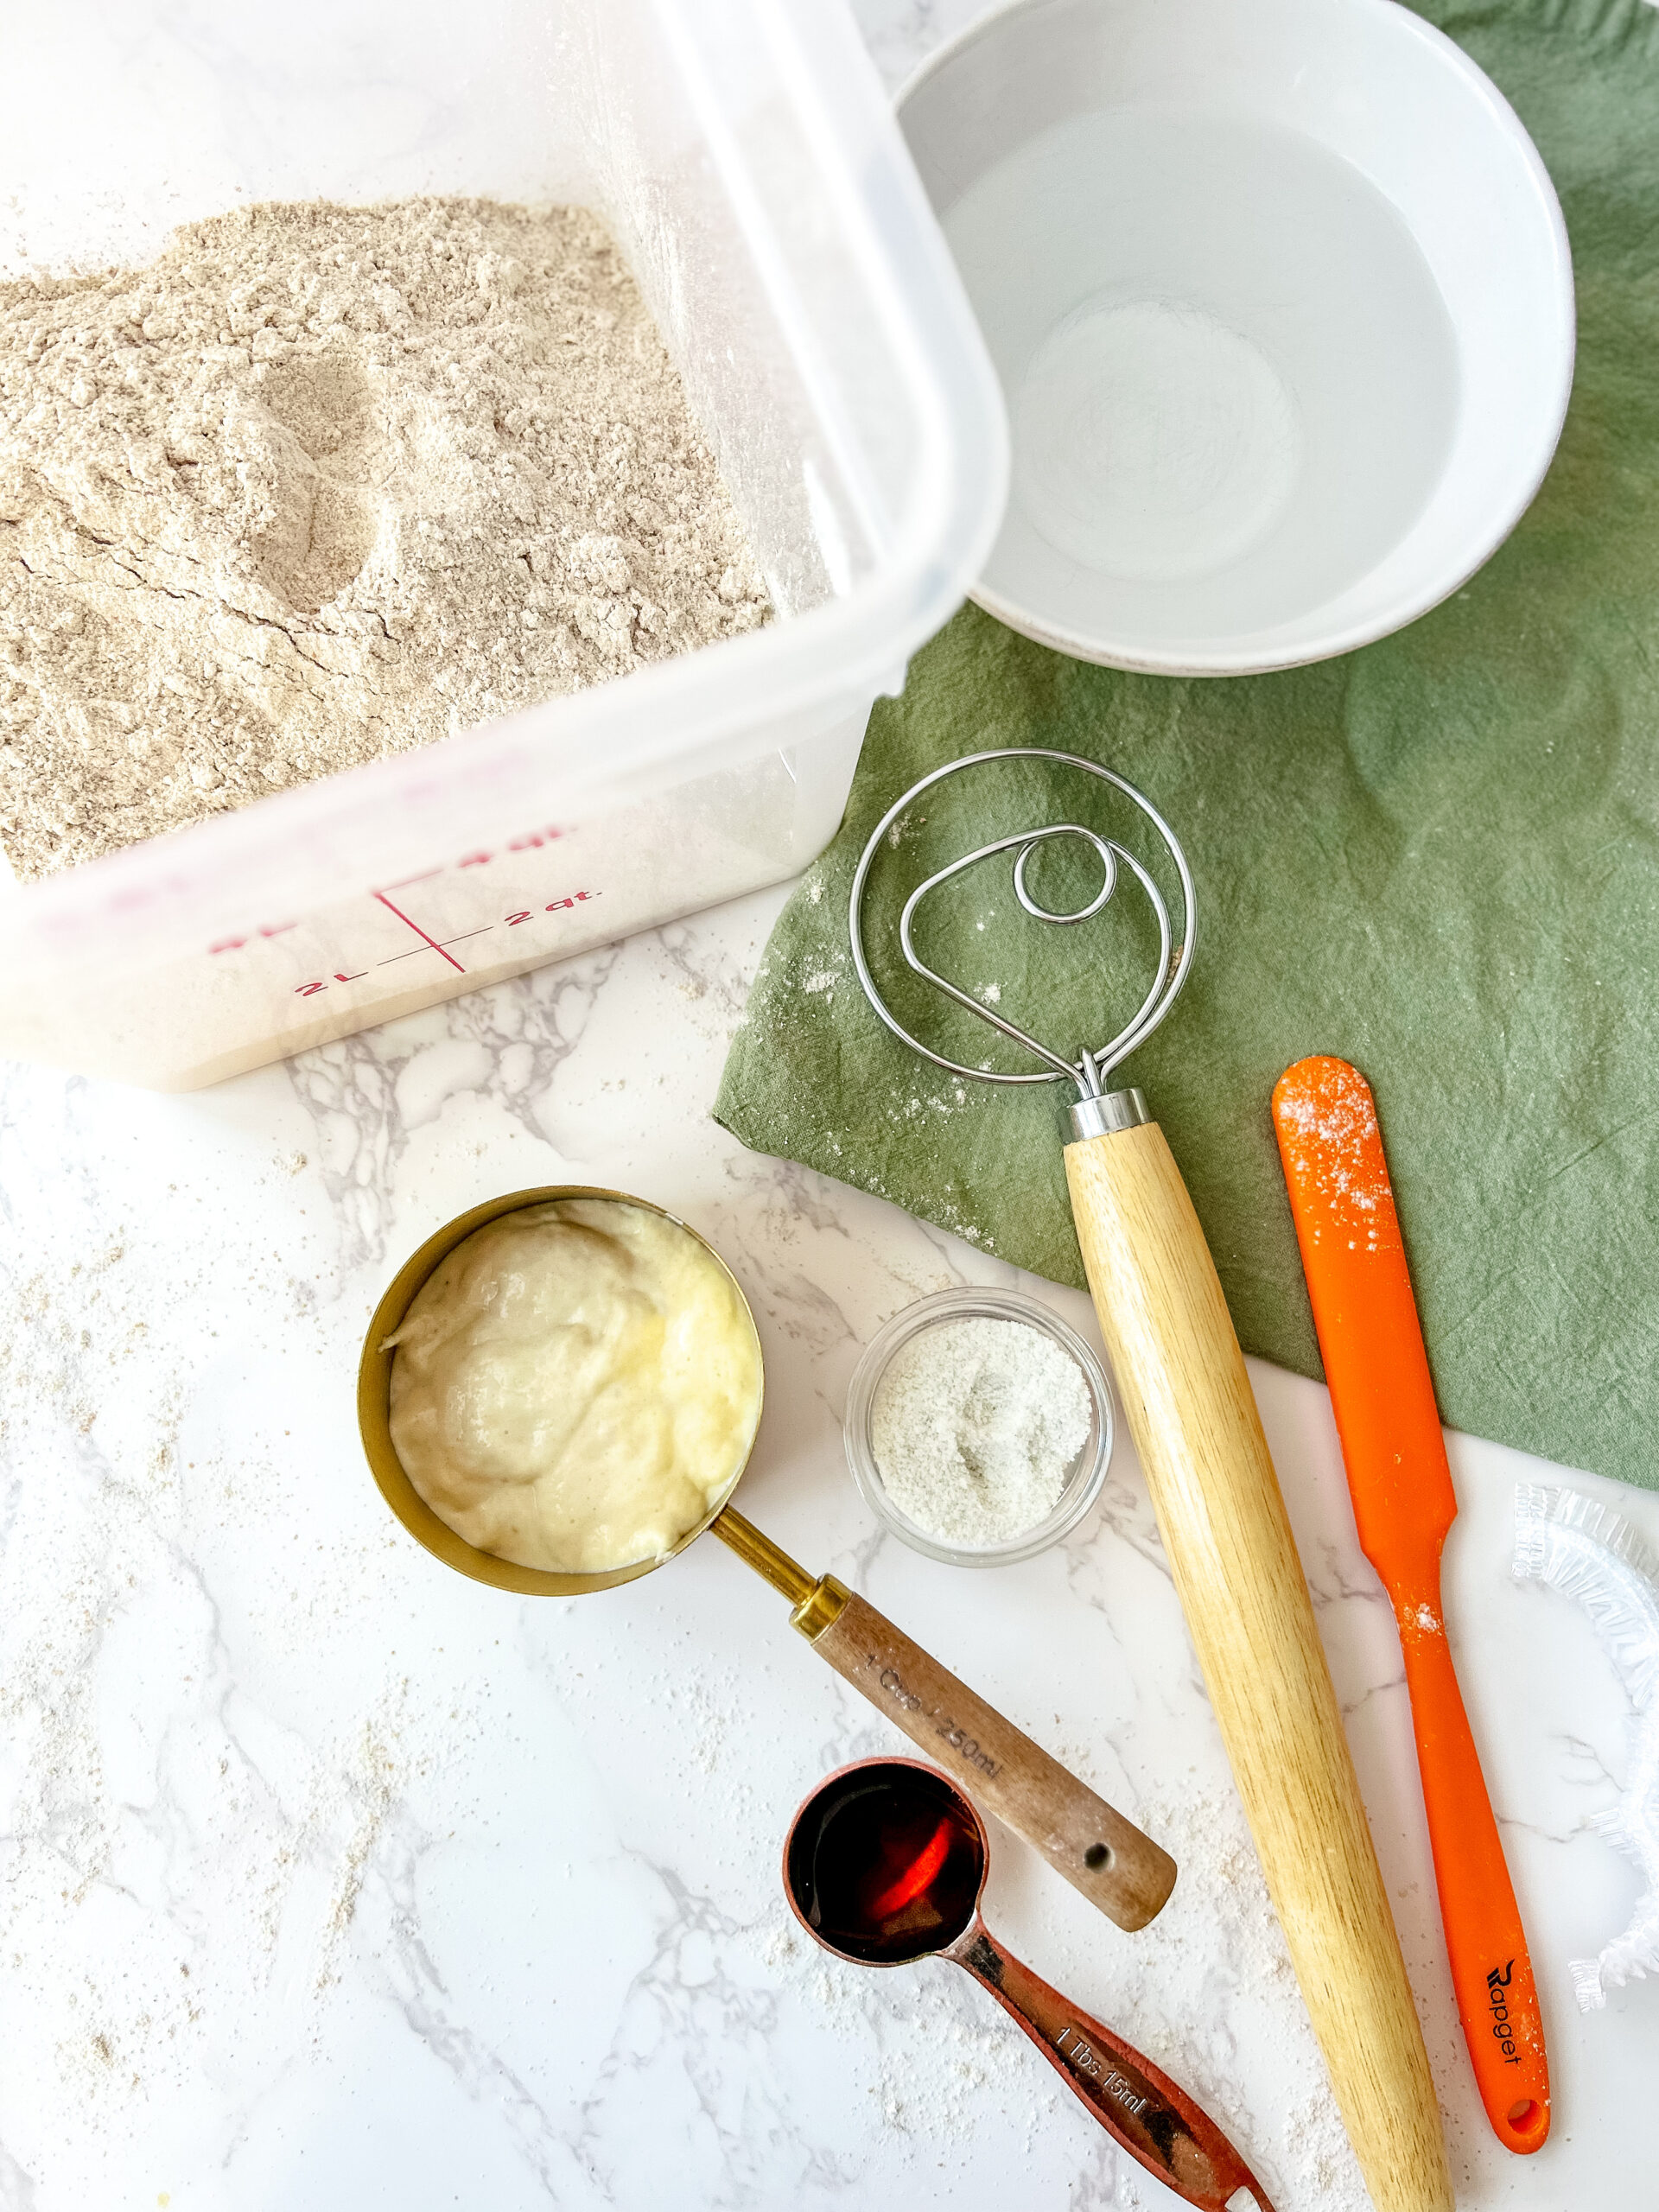
Mill your flour & measure your ingredients
Mill your flour (weigh the grams needed after you mill, not before), and weigh out all ingredients to prepare to mix your dough.
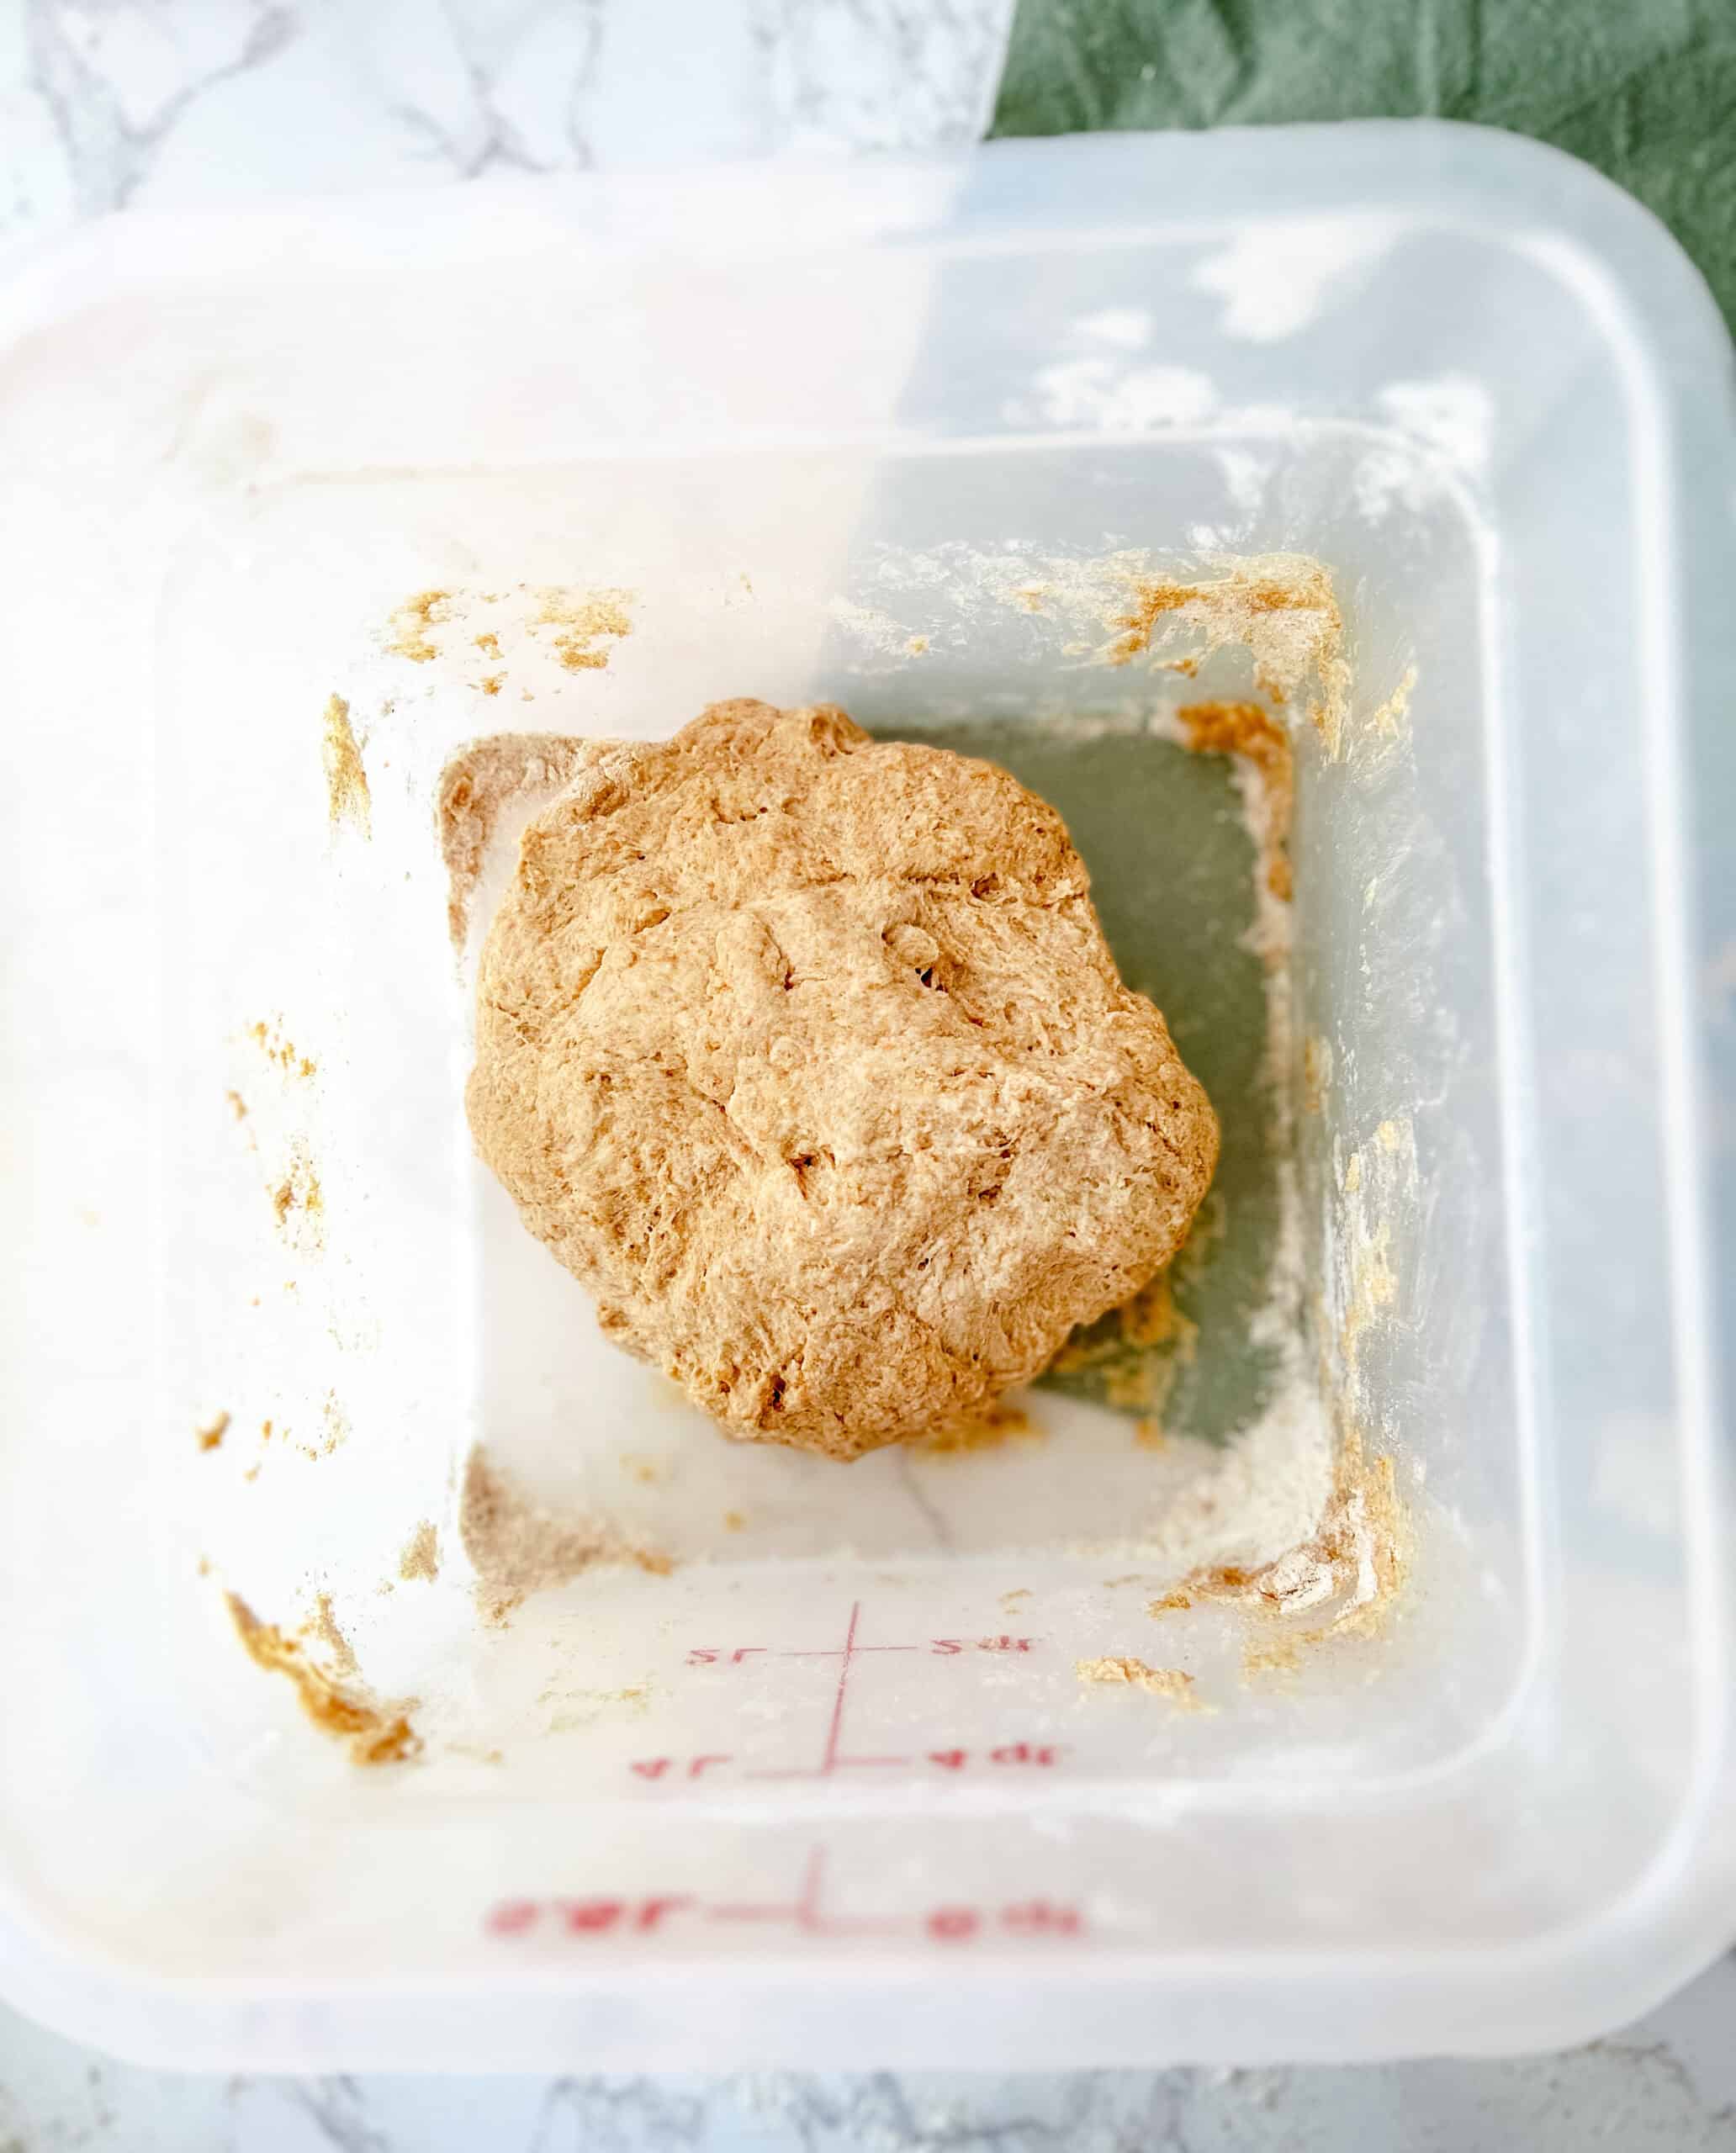
Mix your Dough
In a large mixing bowl, combine the water, active starter, salt, and flour. Use your hands to bring everything together—it’s a messy but satisfying process! Mix for about 3 minutes until it’s roughly combined. Cover the bowl with a reusable food cover or a clean towel and let it rest for an hour. This gives the flour time to absorb the water.
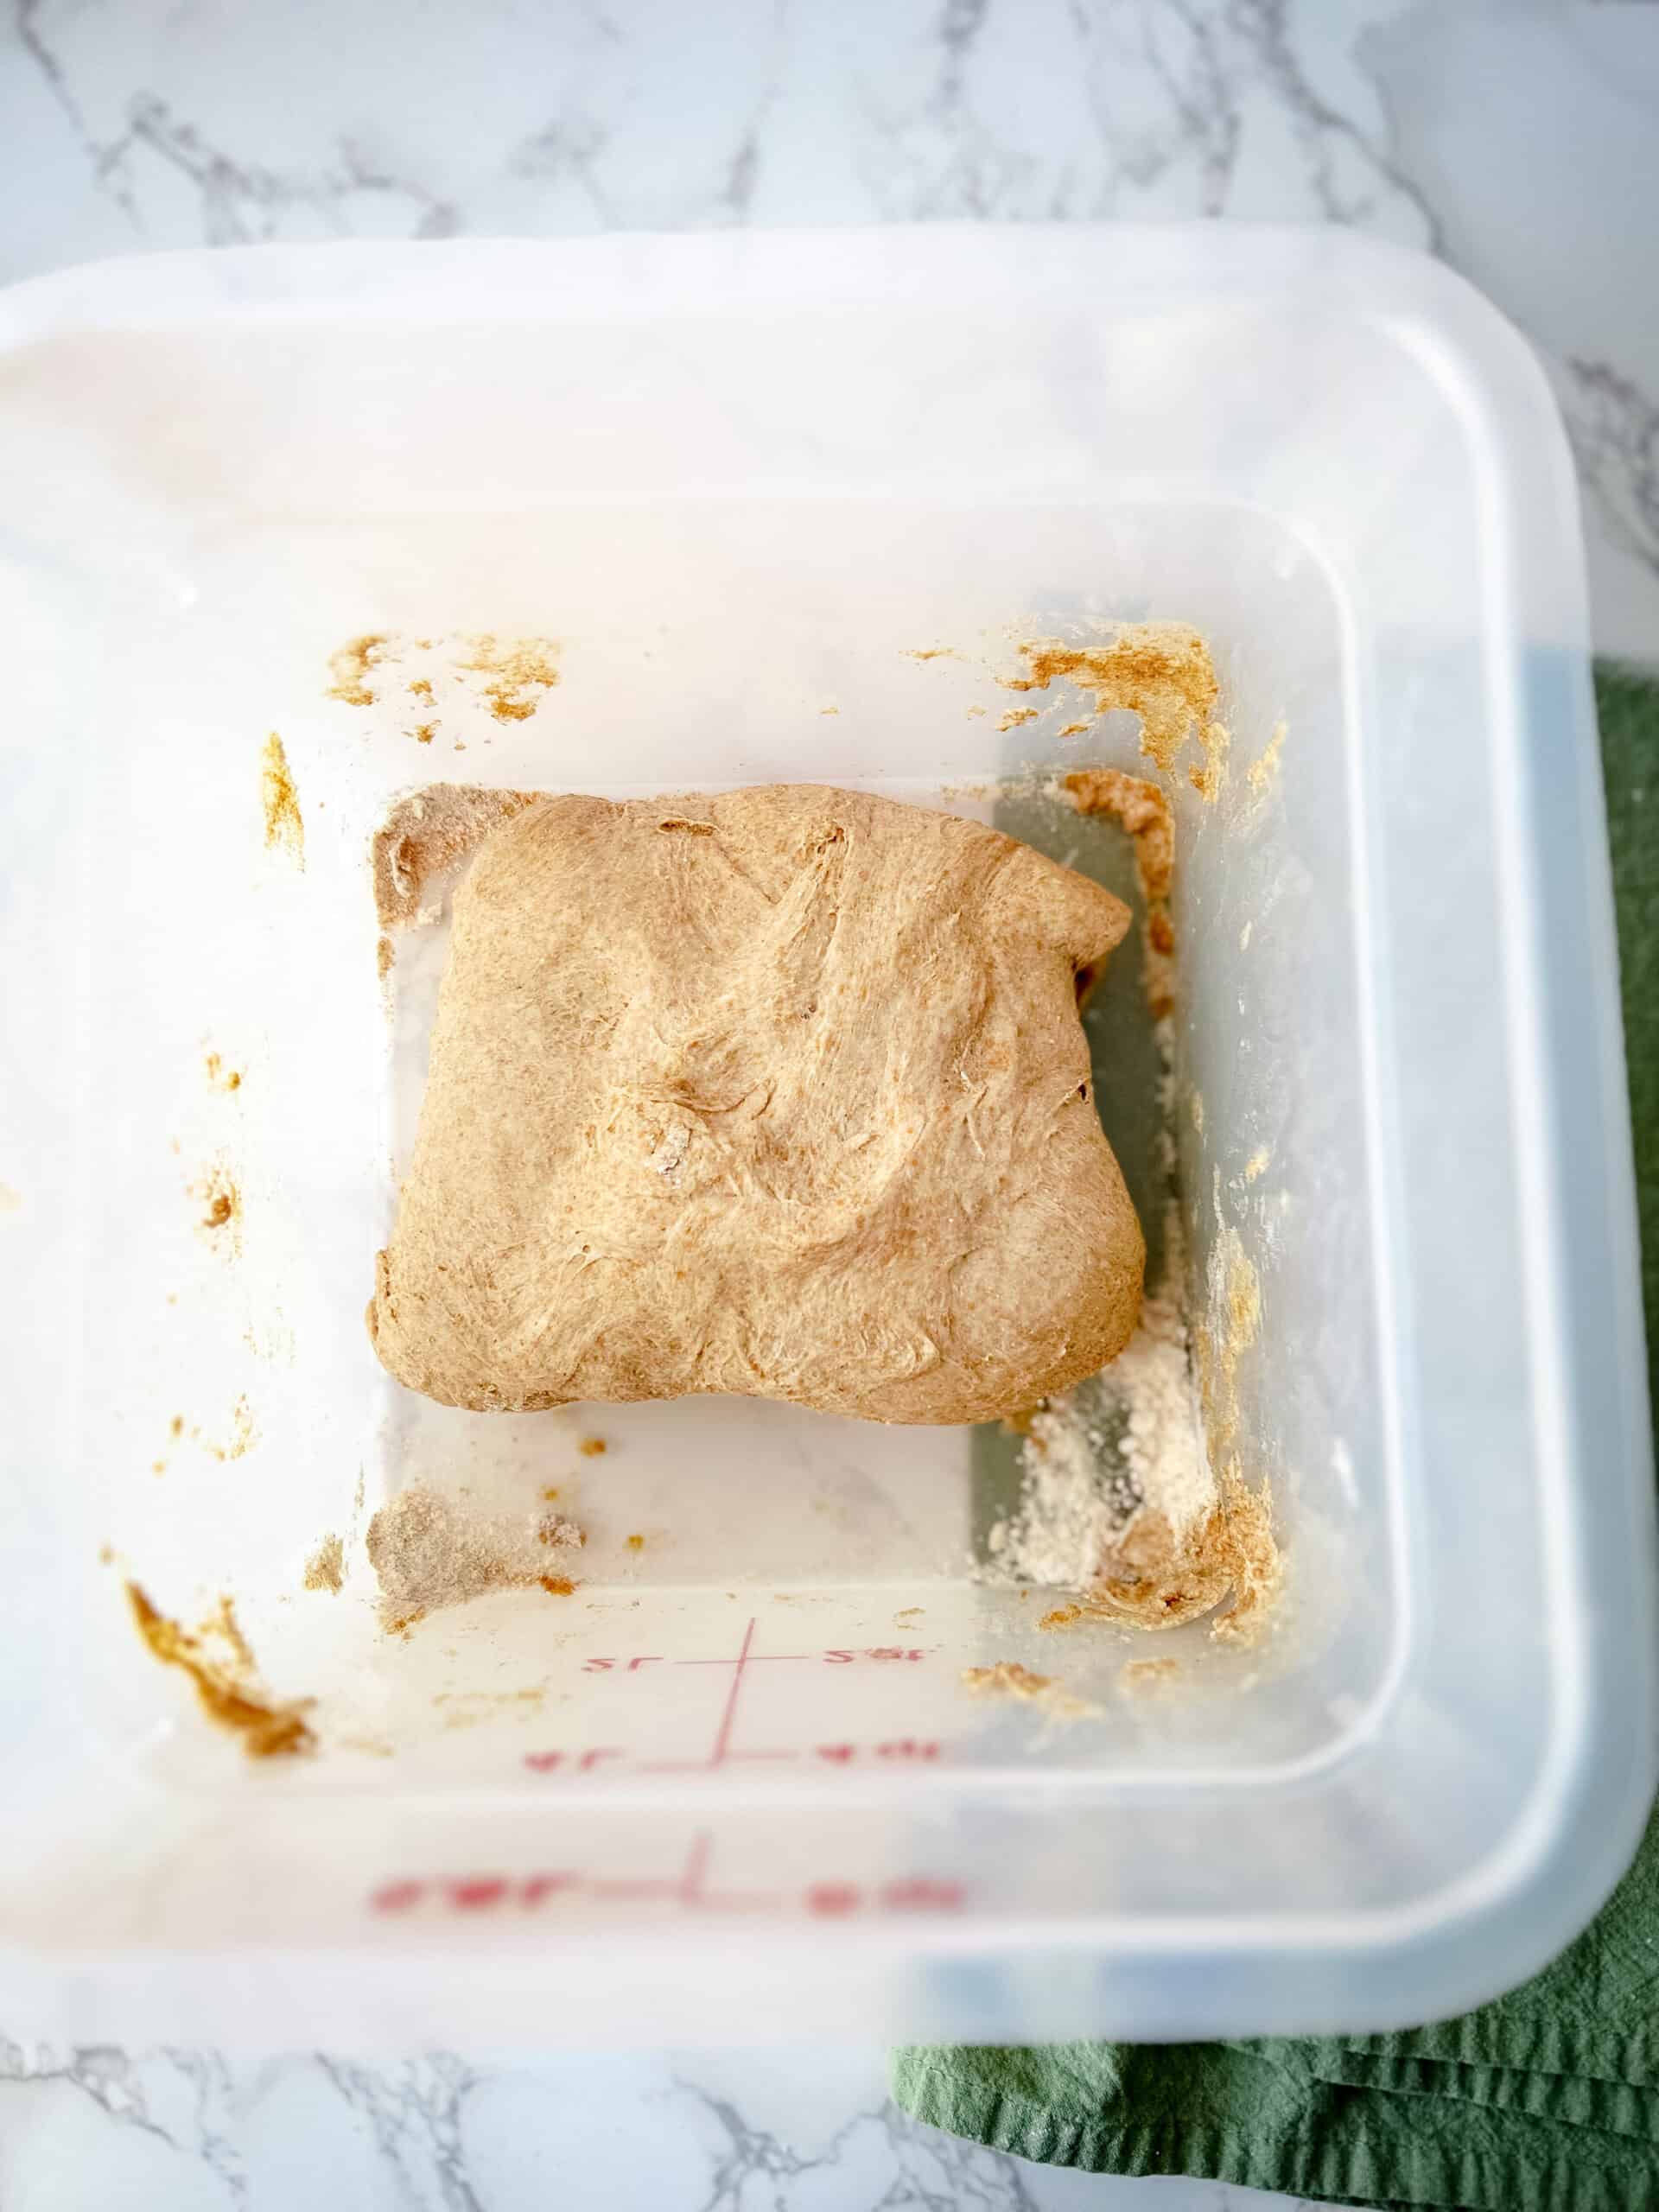
Stretch and Folds
Begin your stretch and folds (it sounds complicated, but it takes very little time). Grab a side of the dough, stretch it up about 6 inches, and fold it over itself. Rotate the bowl slightly and repeat until you’ve done this 3-4 times. SEE ADDITIONAL DETAILS IN RECIPE CARD BELOW.
Bulk Fermentation
Cover the bowl and let the dough rest in a warm, cozy spot. Over the next several hours (about 8 for me), it will double in size. This is the dough’s chance to grow and develop all those wonderful sourdough flavors.

Shape and Chill
When the dough has doubled, it’s time to shape it. On a lightly floured surface, gently form the dough into a ball by pulling it toward you to create tension on the surface. Place your dough into a lined & floured banneton. Cover with a food grade shower cap or tea towel and let it rest in the fridge for as little as overnight and up to 36 hours (if you like that sour taste, try to keep it in the fridge for 36 hours, the longer the better).
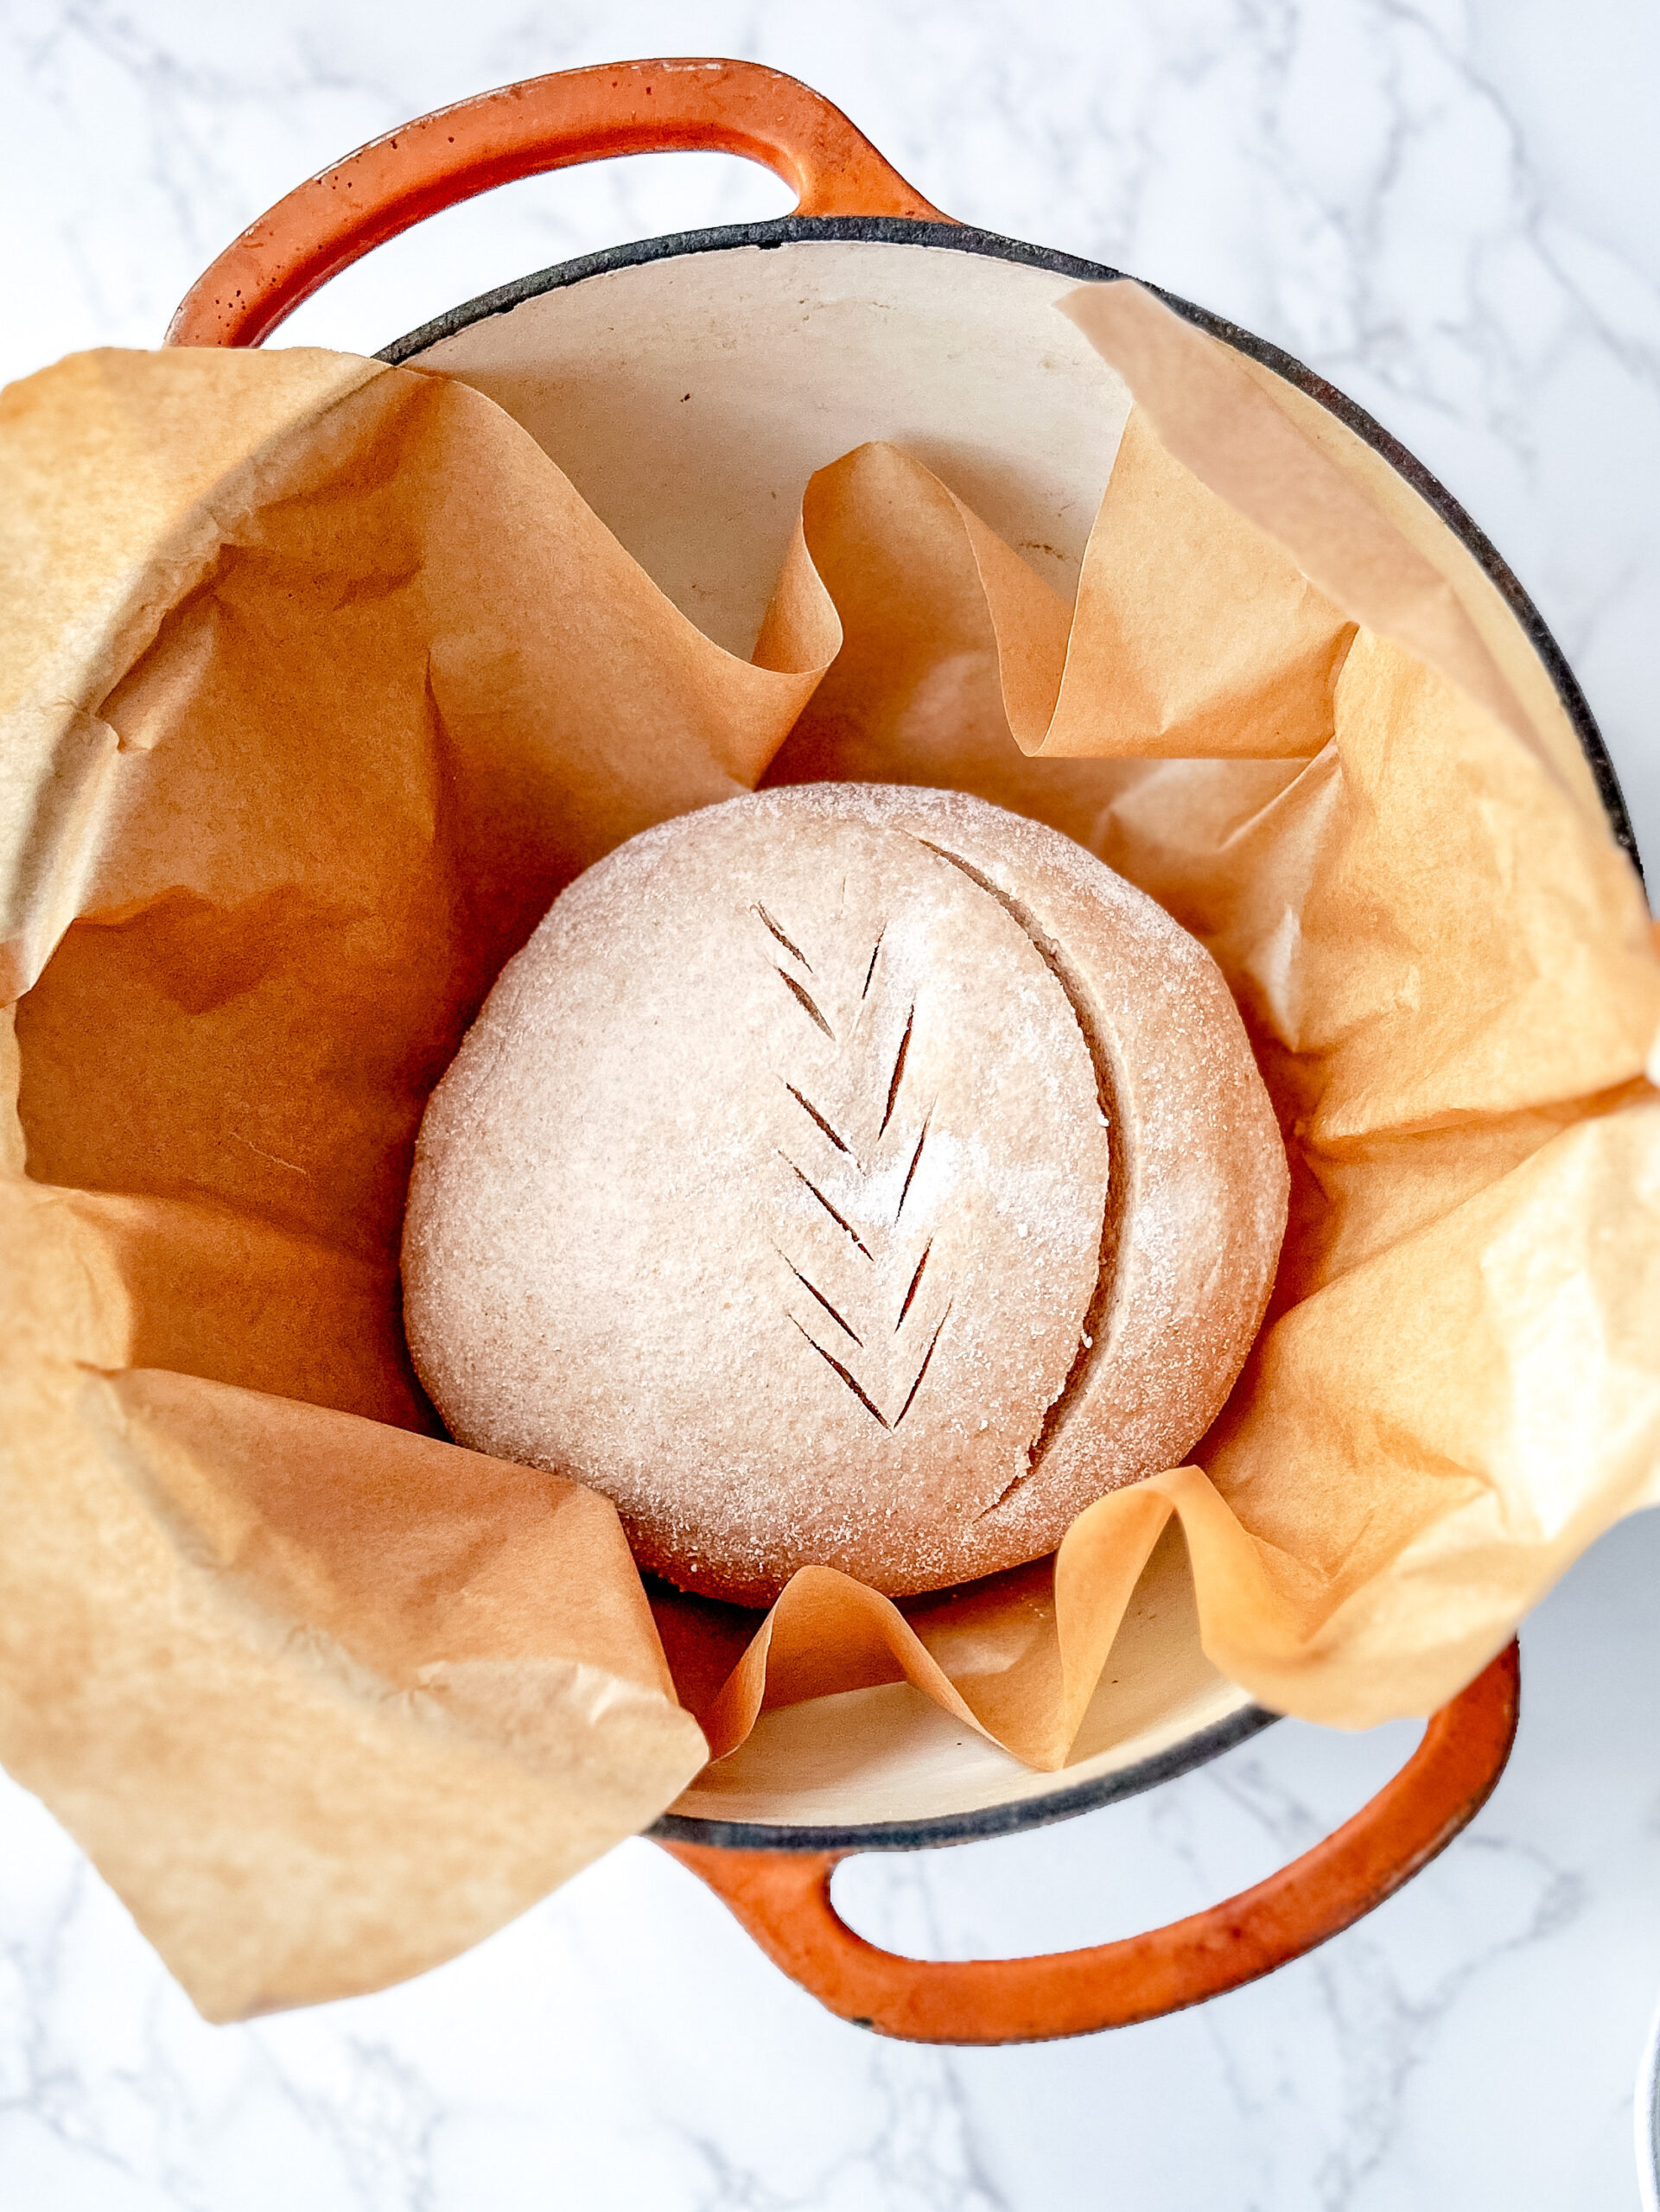
Score and Bake Your Bread
The next day, preheat your oven to 500°F with a Dutch oven inside. When the oven is ready, take the dough out of the fridge, transfer it to a piece of parchment paper, dust it with white rice flour, and score the top with a razor or lame.
When you are ready make sure there is a baking sheet in the oven on the bottom rack to keep the bottom of the bread from burning, turn the oven down to 450, and place the bread in the oven with the lid on for 20 min. After 20 minutes remove the lid and continue baking for another 20 minutes, or until the internal temperature is between 210-215.
Cool & Enjoy
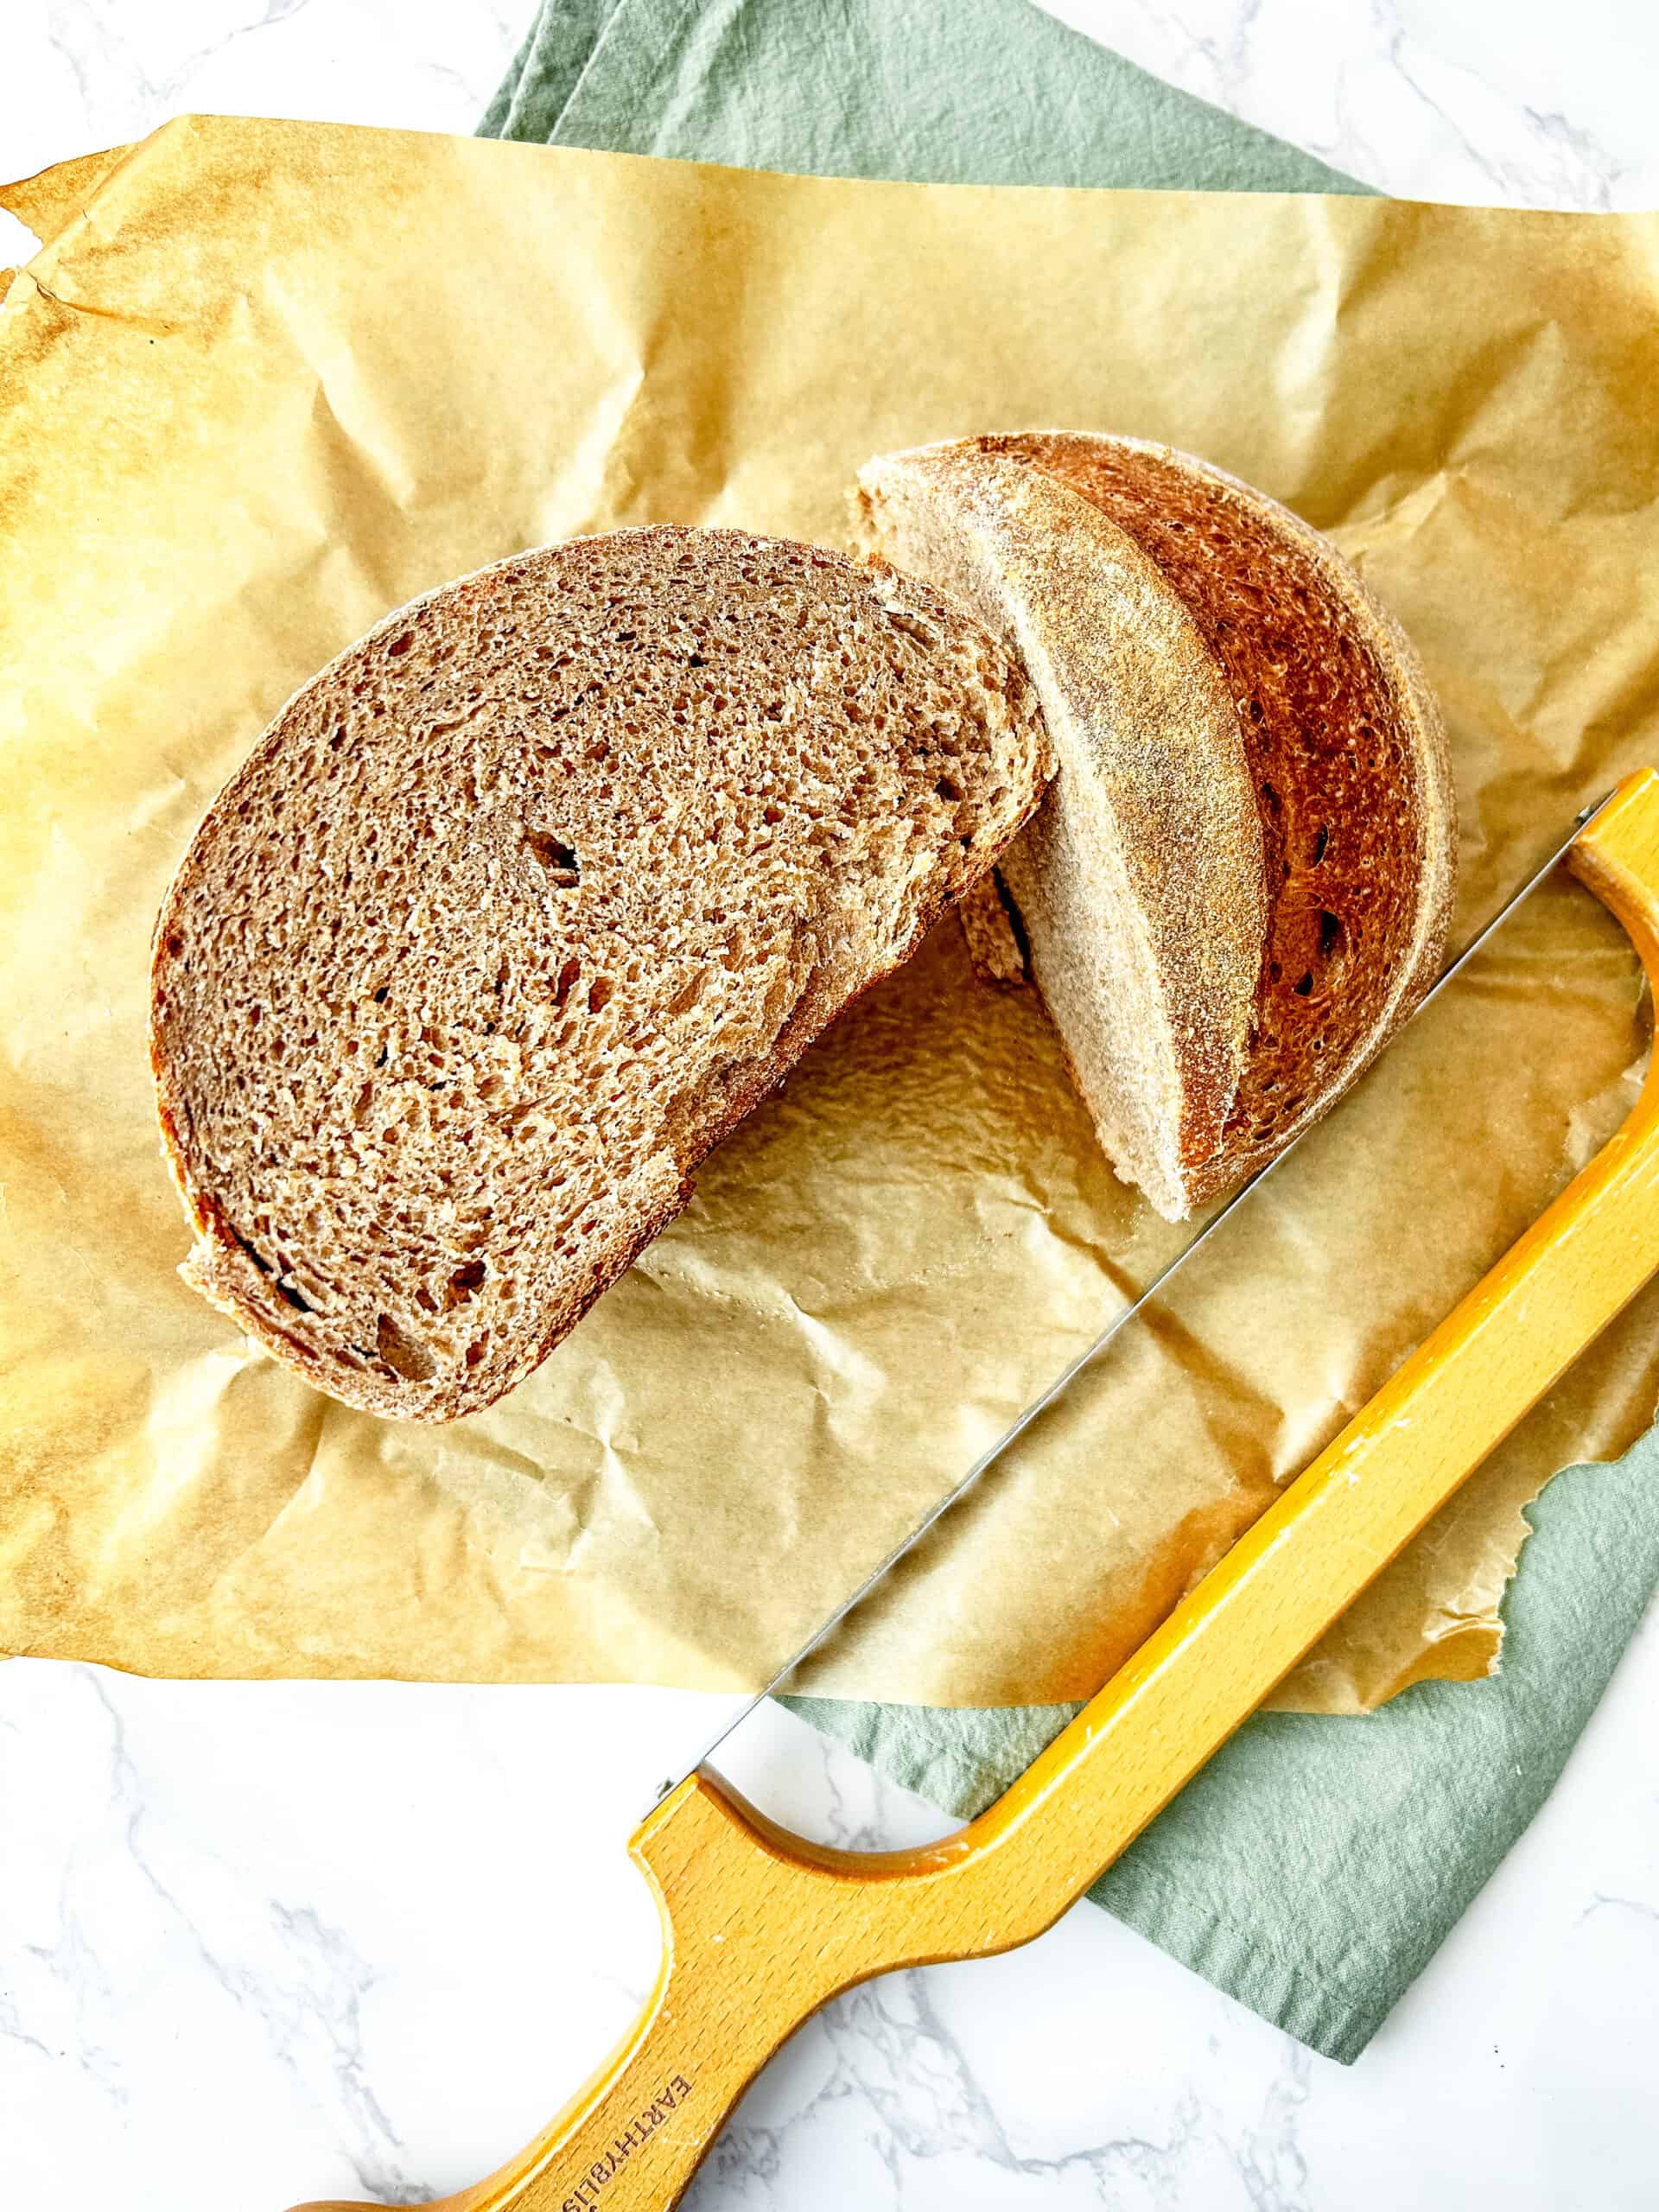
Let the bread cool completely before slicing—this is necessary unless you want chewy gummy bread. The longer it sits before cutting the better. Wait at least 2 hours (I like to wait 3-5 hours, it really does make a difference. Cut into the bread and enjoy!
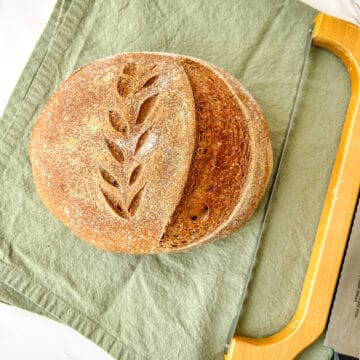
Enjoy your bread with your family!
Fresh Milled Flour Sourdough Bread
Equipment
- 1 Cambro Food Container Can also use a bowl, I highly suggest you use a clear bowl or container
- 1 Dough Whisk
- 1 Food Scale
- 1 Food Mill
- 1 Food Grade Shower Cap
- 1 Banneton
- 1 Tea Towel or Banneton Liner
- 1 Dutch Oven
- 1 Baking Sheet Not mandatory, but helps to keep the bottom of the loaf from burning
- 2 Measuring Spoons
- 1 Measuring Cup
- 1 Food Scale
- 1 Bread Lame
Ingredients
- 47 g Kamut Grain Berries
- 325 g hard red Wheat Berries
- 130 g sourdough active and bubbly
- 330 g water
- 12 g salt
- 1 tbs the maple syrup
- 1 tbs vital wheat gluten
Instructions
Prepare Your Starter
- The first step is to make sure your sourdough starter is ready to shine. Feed it 6-12 hours before you start baking so it’s active, bubbly, and at its peak.
Mix the Dough
- In a large mixing bowl, combine the water, active starter, salt, and flour. Use your hands to bring everything together—it’s a messy but satisfying process! Mix for about 3 minutes until it’s roughly combined. Cover the bowl with a reusable food shower cover or a clean towel and let it rest for an hour. This gives the flour time to absorb the water.
Stretch and Folds
- Instead of traditional kneading, I like to use the stretch-and-fold method. It’s gentle and feels so soothing. Grab a side of the dough, stretch it up about 6 inches, and fold it over itself. Rotate the bowl slightly and repeat until you’ve done this 3-4 times.
- - For the first 45minutes, stretch and fold every 15 minutes.
- - For the rest of the time, do it every 3 sets of stretch and folds every 30 minutes
Bulk Fermentation
- Cover the bowl and let the dough rest in a warm, cozy spot. Over the next several hours (about 8 for me but can take up to 12 hours), it will double in size. This is the dough’s chance to grow and develop all those wonderful sourdough flavors.
Shape and Chill
- When the dough has doubled, it’s time to shape it. On a lightly floured surface, gently form the dough into a ball by pulling it toward you to create tension on the surface. This will help it rise beautifully in the oven.
- Place your dough into a floured banneton basket or a bowl lined with a floured tea towel. Cover and let it rest in the fridge overnight (12-36hours). This slow proofing gives the bread even more flavor and structure.
Bake Your Bread
- The next day, preheat your oven to 500°F with a Dutch oven inside. When the oven is ready, take the dough out of the fridge, transfer it to a piece of parchment paper, and score the top with a razor or lame.
- Dust the top with a little flour if you’d like to highlight the scoring pattern. Turn the oven down to 450, make sure there's a baking sheet on the bottom shelf and Carecarefully place the dough (on the parchment) into the preheated Dutch oven.
- - Bake with the lid on for 20 minutes.
- - Then bake uncovered for another 20 minutes until the crust is golden and crisp. The internal temperature should be between 210-215
Cool and Enjoy
- Let the bread cool completely before slicing—it’s worth the wait! Typically I wait at a minimum of 2 hours but prefer 3-5 hours of resting time.Then, gather your family, and enjoy the fruits of your labor. There’s nothing quite like fresh, homemade bread to bring everyone together.


Samantha Laycock says
Bread is the way to my heart! This looks absolutely delicious 😋
Parker says
Bread is life!! I hope you enjoy this recipe!
Dusty says
I want to mill my own flour so bad. I am working on getting the grain mill. Your bread looks so delicious! Do you find it to be much cheaper than buying already milled flour?
Parker says
Once you purchase the grain mill you will NEVER look back! It is the best kitchen tool I have ever had. I promise it is totally worth it.
Jarrod says
Looks good! I never thought I would be looking up bread recipes but here I am!
Parker says
Right! There was a time many years ago that I may have thought the same, but here I am. Bread is life 🙂
Alana says
Great bread recipes and tips, I will attempt this at home, I always thought it was too hard to make.
Parker says
Let me know how it goes! It really is way easier than most people think!