There’s nothing quite like the smell of fresh-baked bread filling your kitchen—especially when it’s as simple and wholesome as this No Knead Country Bread. This recipe is a lifesaver for busy moms who want to give their family real, homemade bread without spending hours in the kitchen. With just a few pantry staples and zero kneading, you’ll have a beautifully rustic, crusty loaf that pairs perfectly with soups, sandwiches, or just a smear of butter.

Why You Will Love No Knead Country Bread
- Minimal Effort – Just mix the ingredients, let time do the work, and bake!
- No Additives – Unlike store-bought bread, this loaf is free from preservatives and unnecessary ingredients.
- Crispy Crust & Soft Interior – The long fermentation gives it incredible texture and flavor.
- Budget-Friendly – A homemade loaf costs a fraction of what you’d pay at the store.
- Versatile – Serve it with soups, make sandwiches, or simply enjoy it warm with butter.
What to serve with No Knead Country Bread:
Creamy Alfredo Sausage Lasagna Soup - Grafted Pro
Equipment Needed:
- Large mixing bowl
- Wooden spoon or spatula
- Dutch oven
- Parchment paper
- Measuring cups and spoons
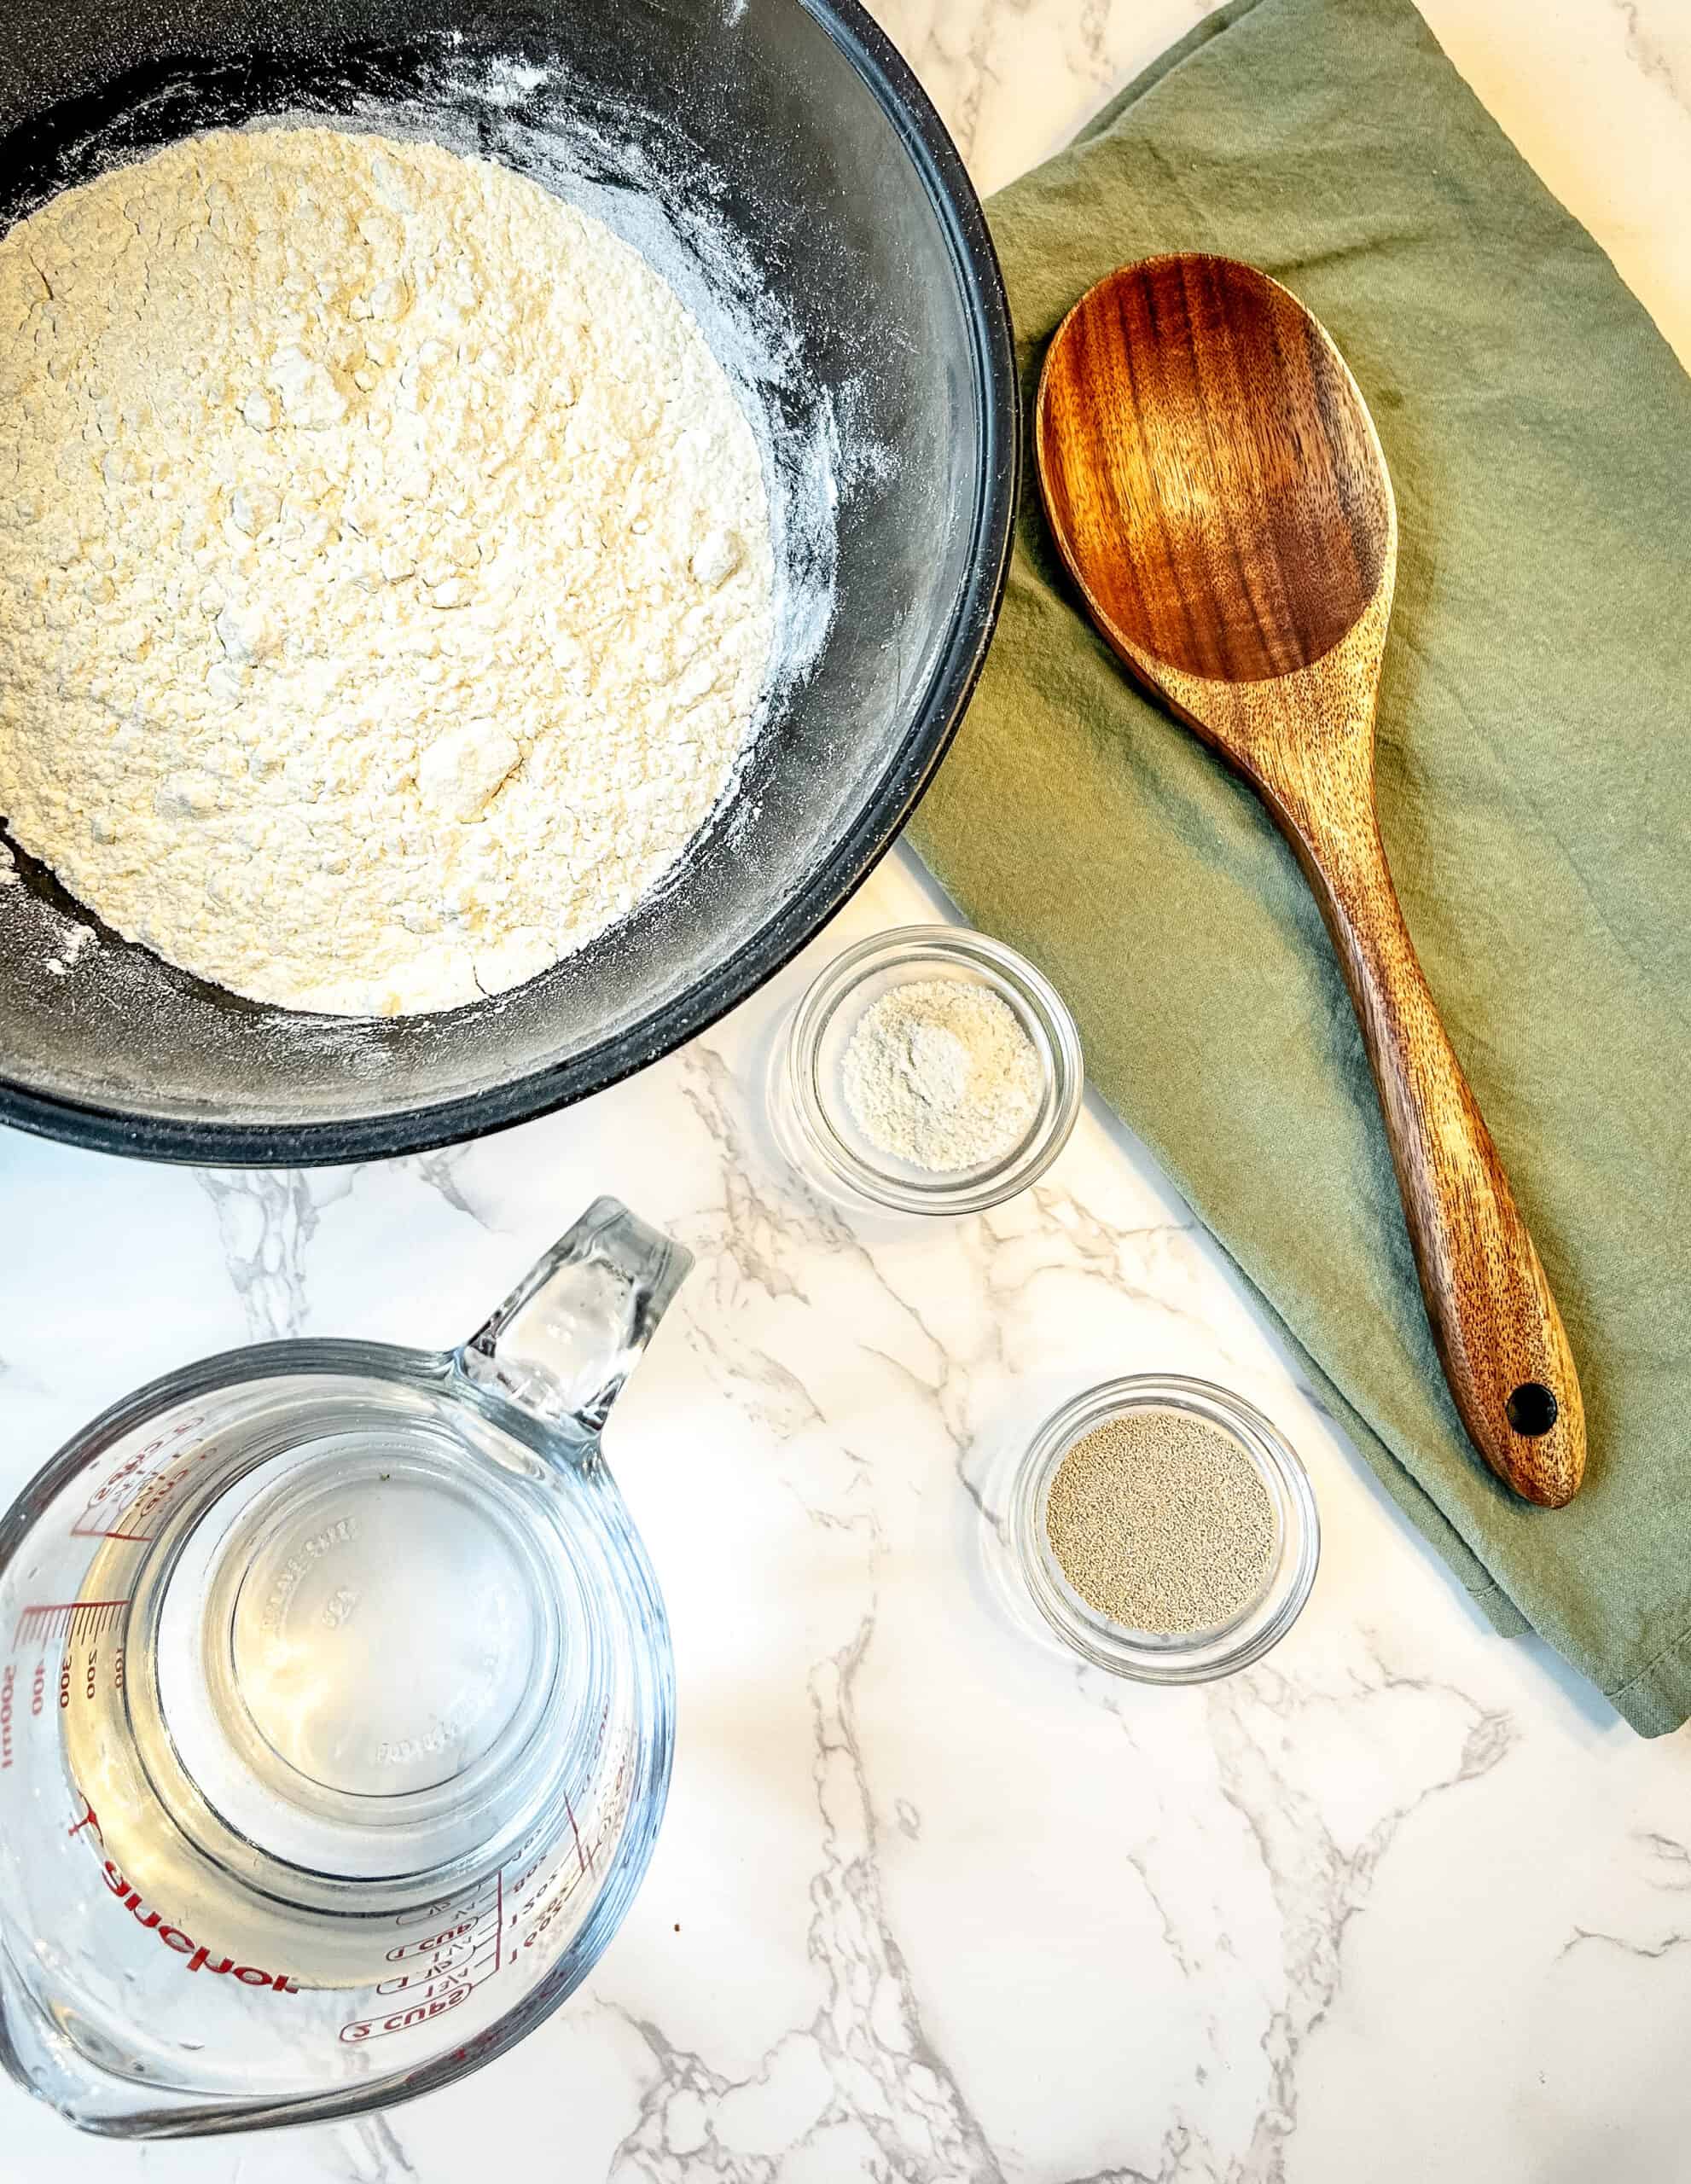
Ingredients in No Knead Country Bread
- 390g bread flour – Provides the structure and chewiness of the bread. Bread flour has a higher protein content, resulting in a slightly chewier texture than if you were to use AP flour.
- 1 ½ teaspoons salt – Enhances the flavor and helps control yeast activity for a balanced rise. It also strengthens the dough’s structure.
- ½ teaspoon instant yeast – A small amount of yeast is all that’s needed, as the long fermentation time allows for natural gluten development and deep flavor.
- 1 ½ cups (360ml) warm water – Activates the yeast and hydrates the flour, helping to form gluten while creating the perfect consistency for a no-knead dough.
Instructions
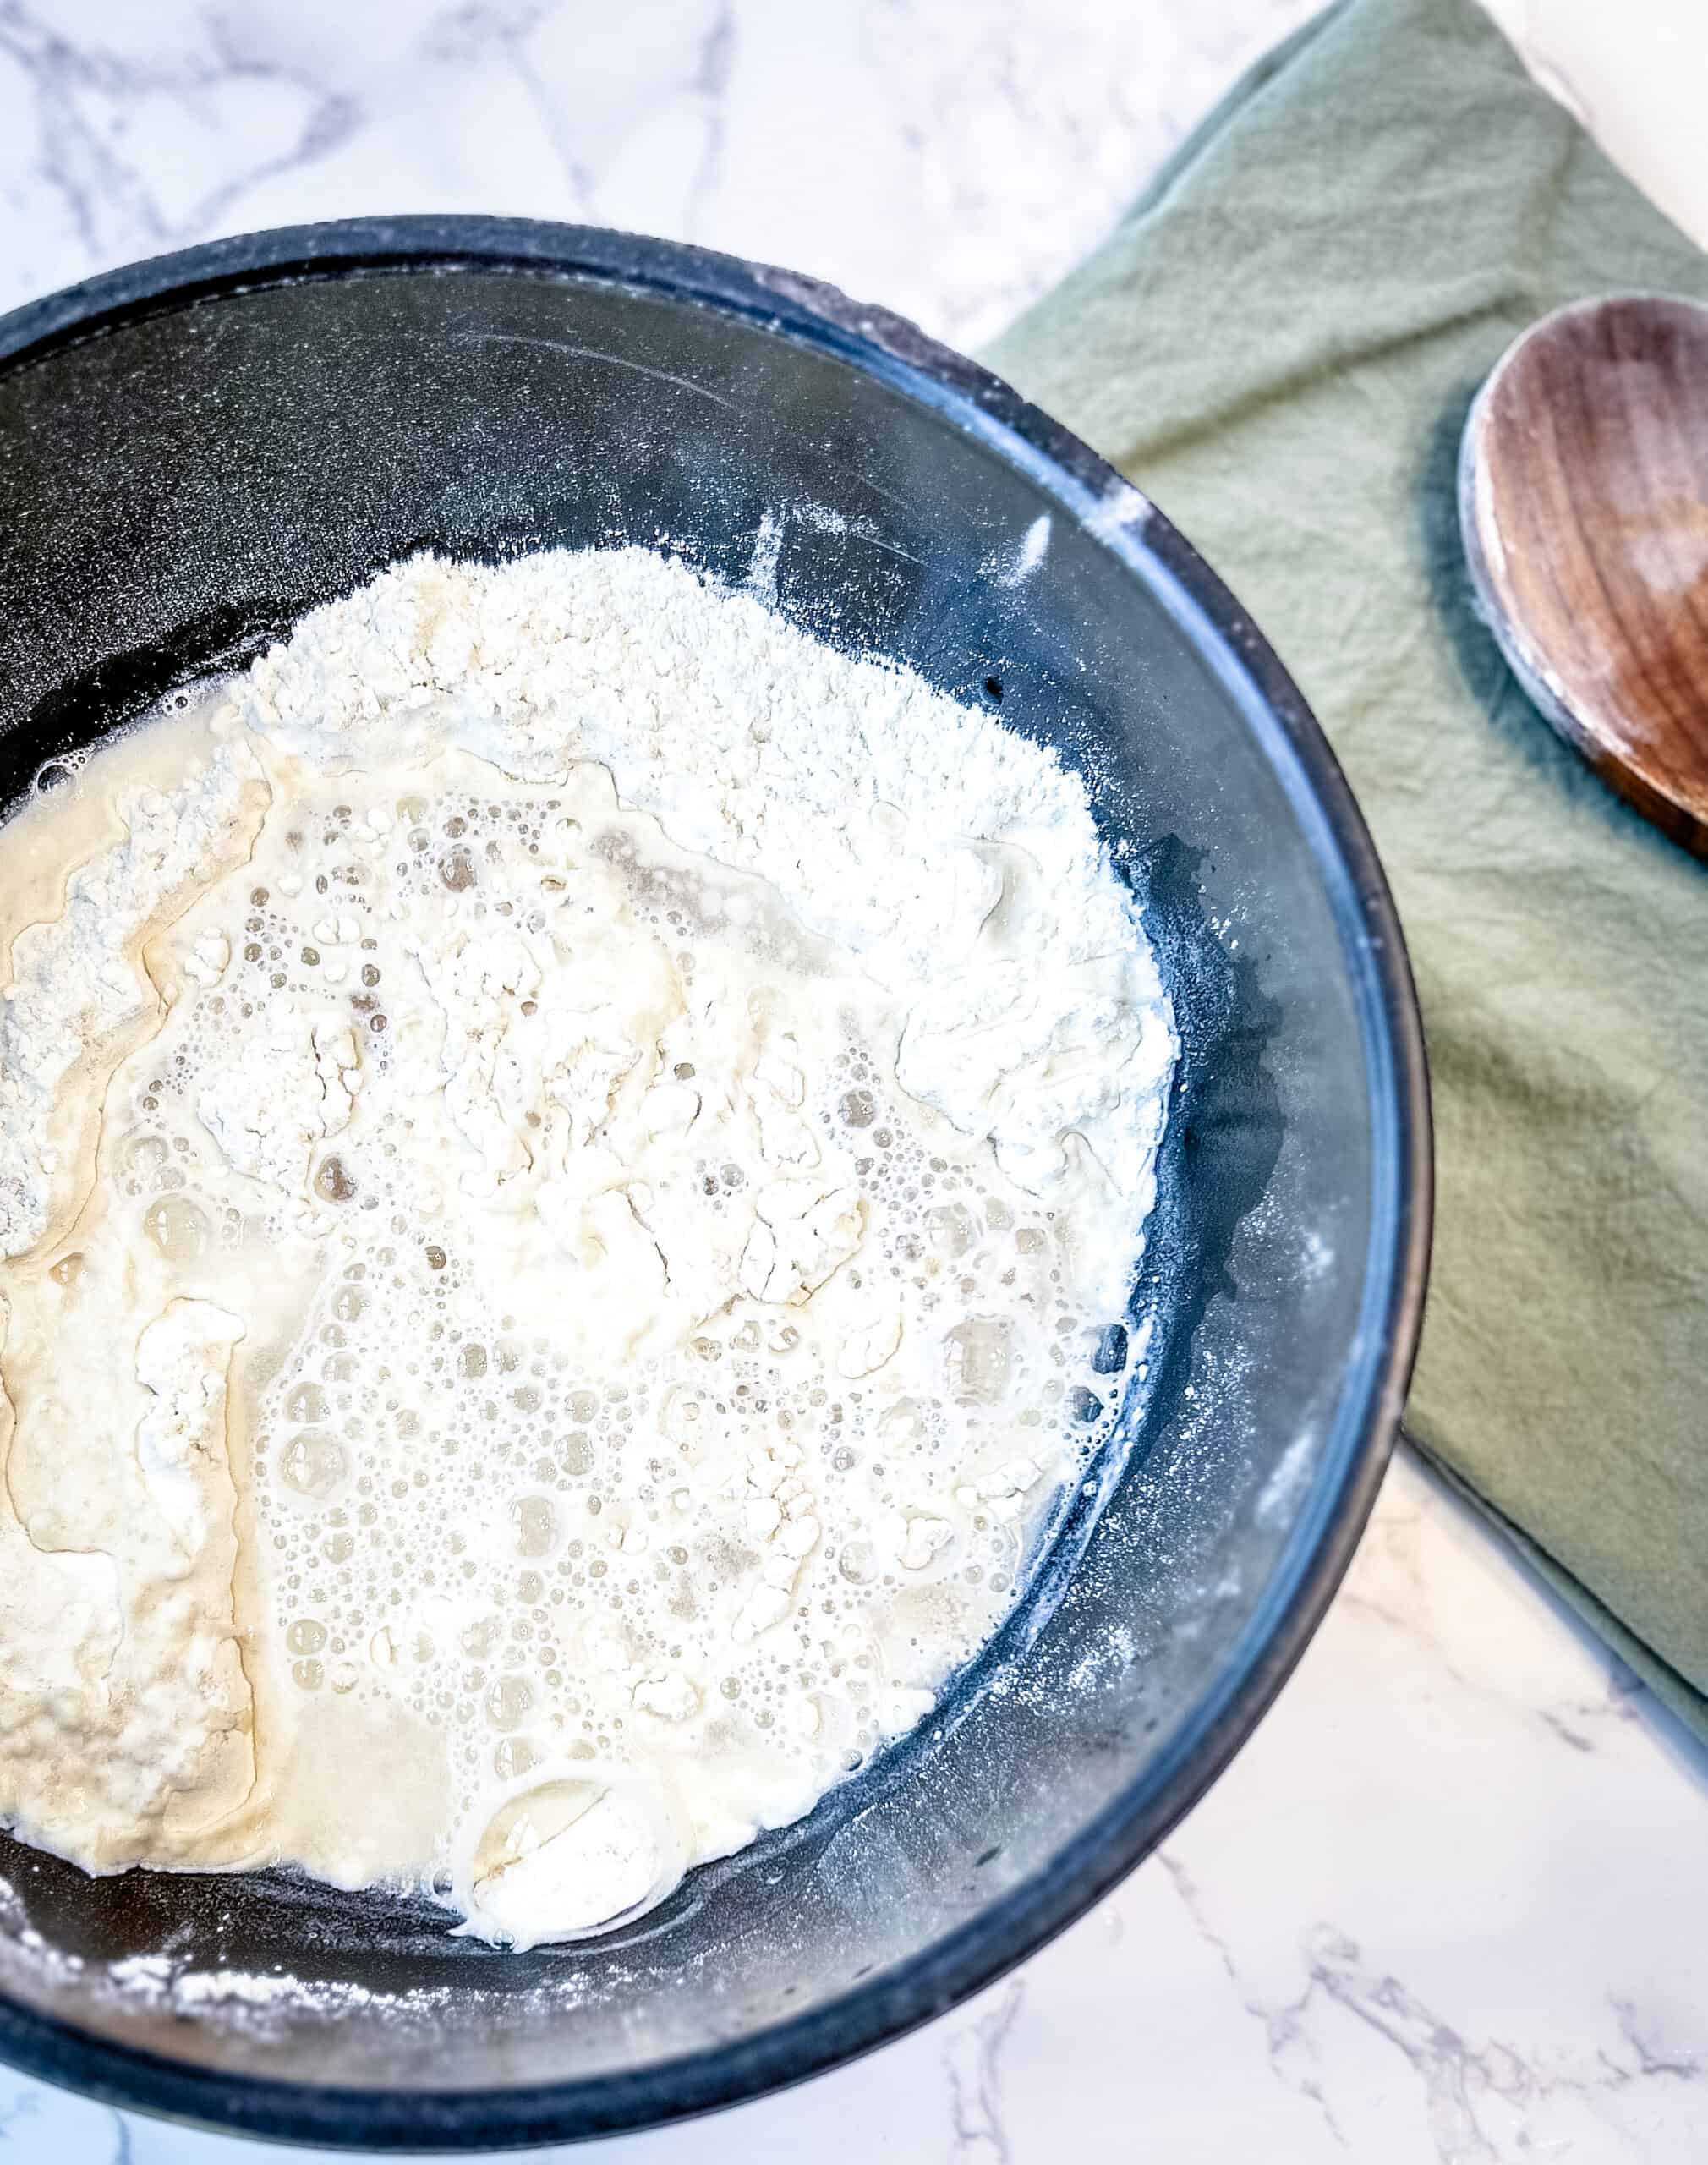
Mix The Dough
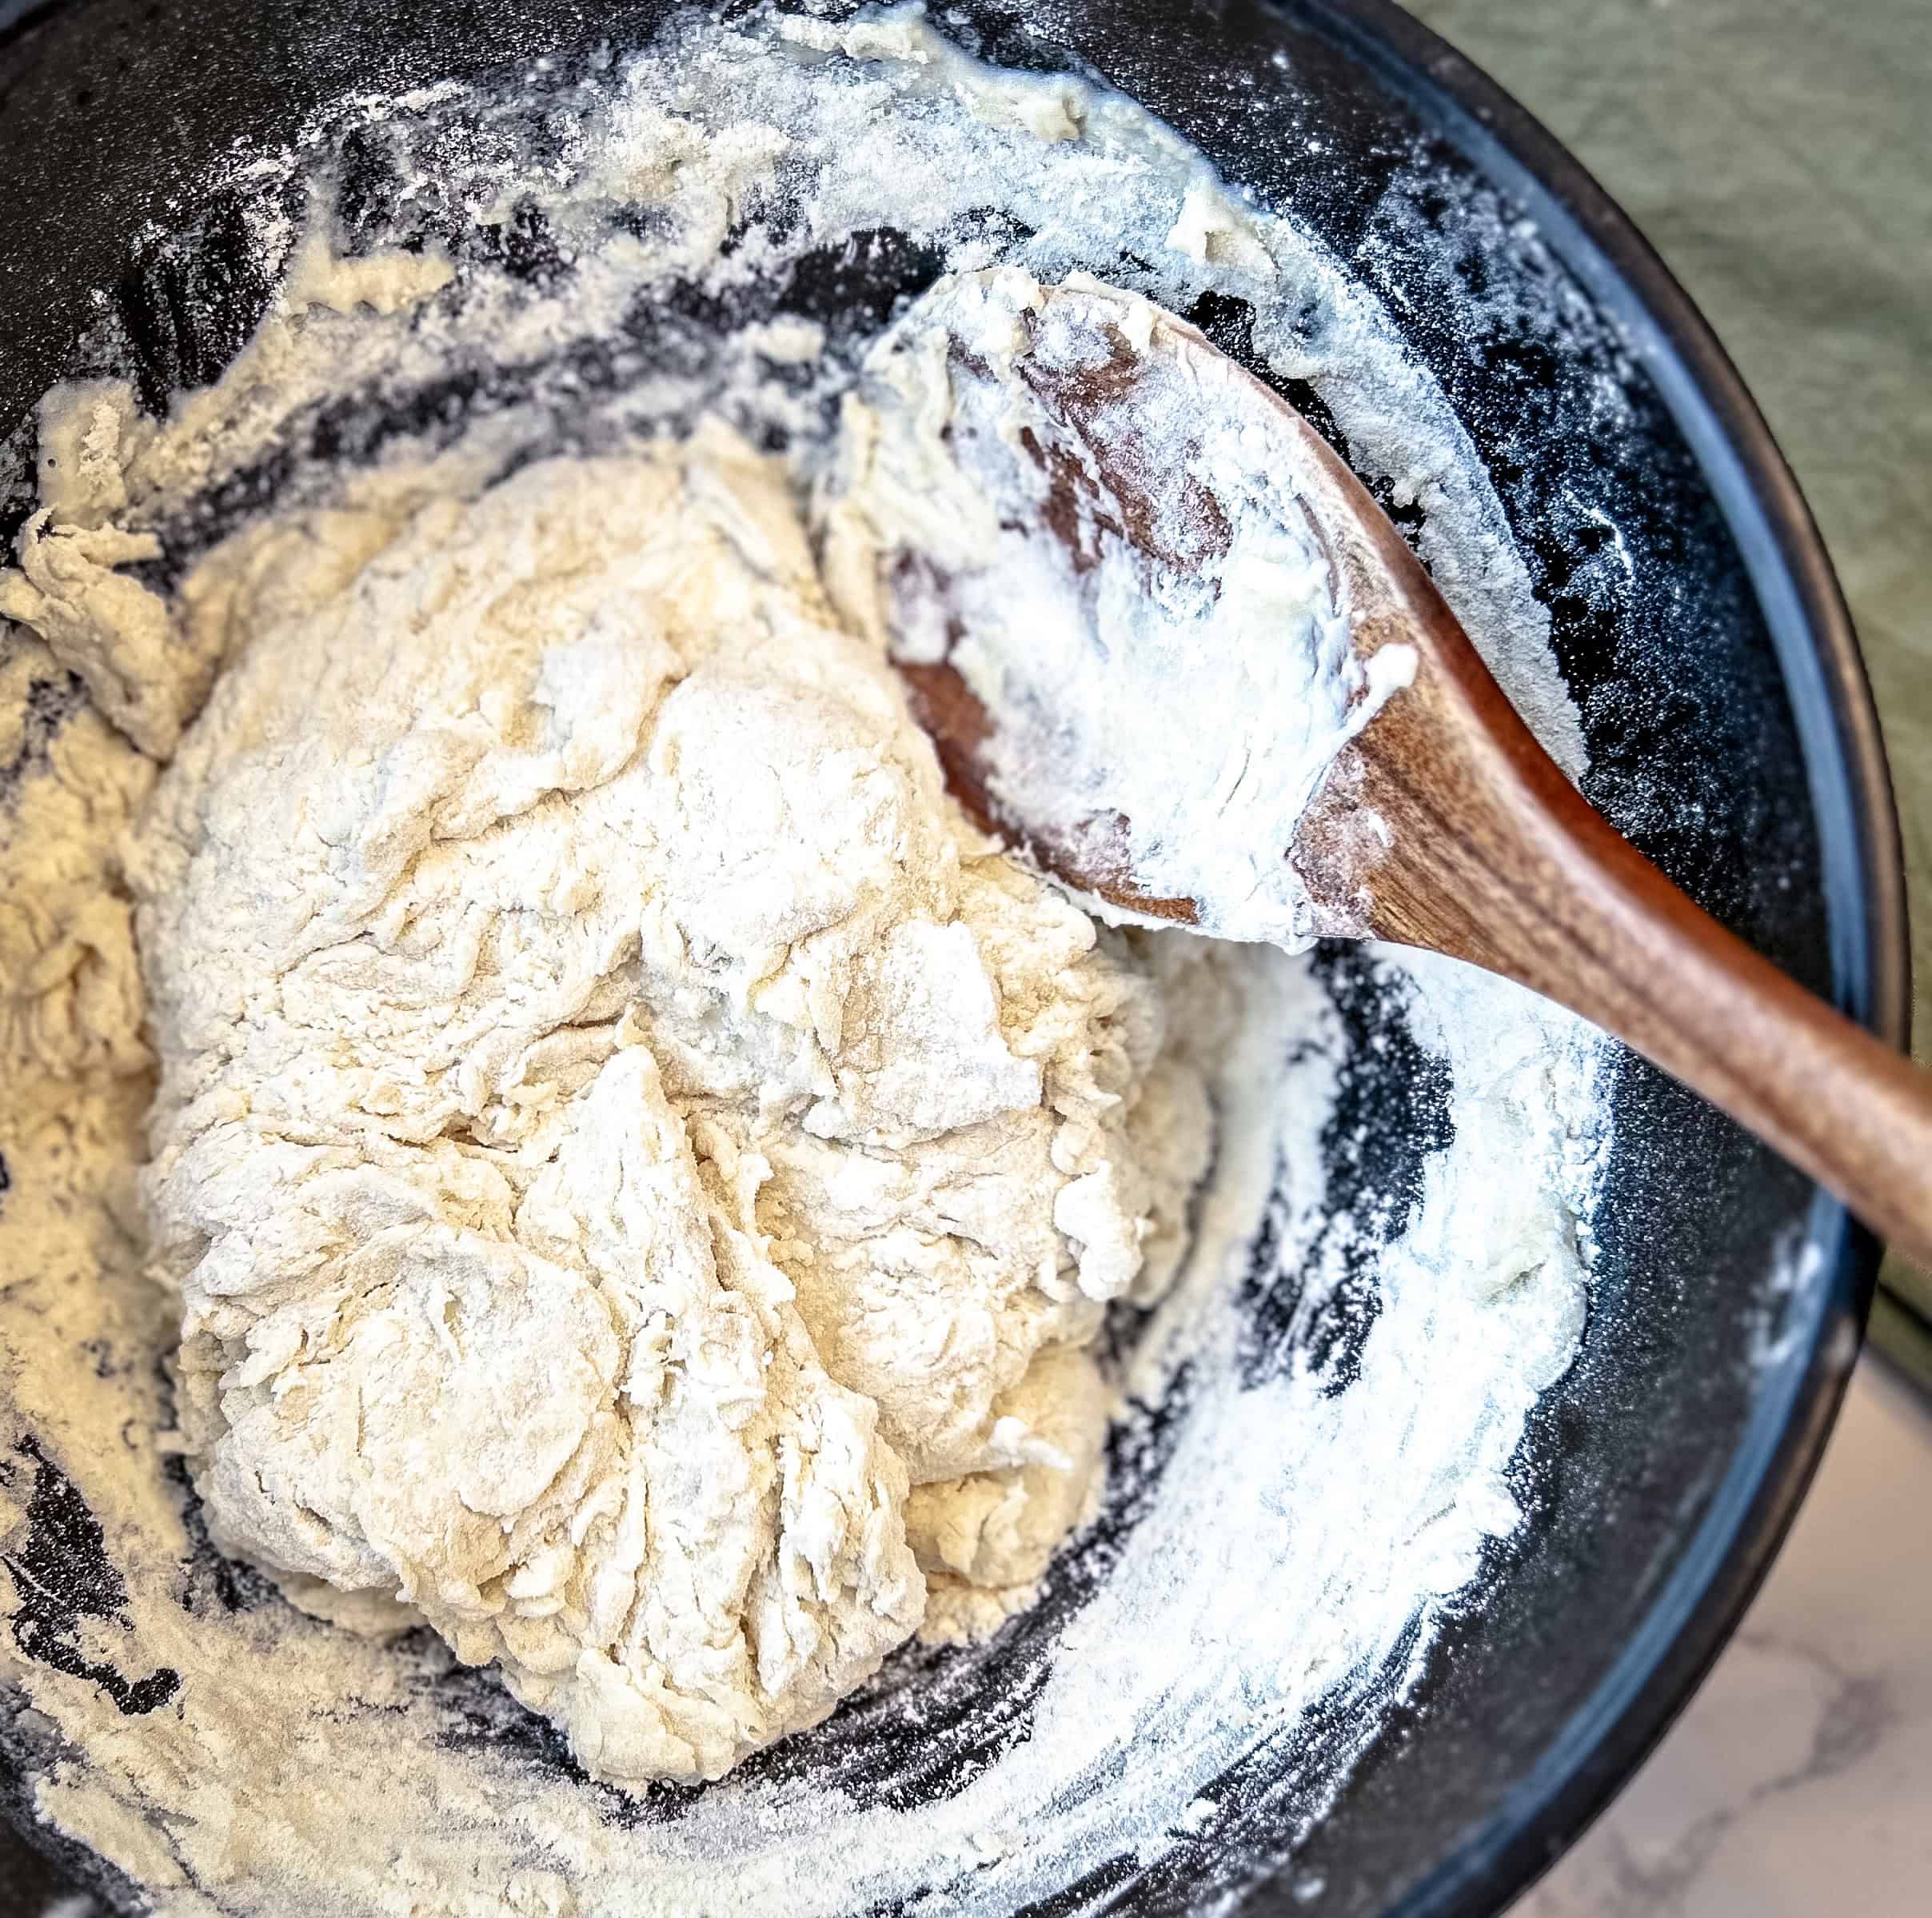
In a large mixing bowl, combine the flour, salt, and yeast. Slowly pour in the warm water while stirring with a wooden spoon or spatula. The dough will be sticky and shaggy—this is exactly what you want
Rest & Rise
Cover the bowl with a clean kitchen towel or plastic wrap and let it sit in a warm spot for 2 hours.

Preheat and Shape the Dough
Preheat your oven to 450 degrees with the dutch oven in the oven to also preheat.
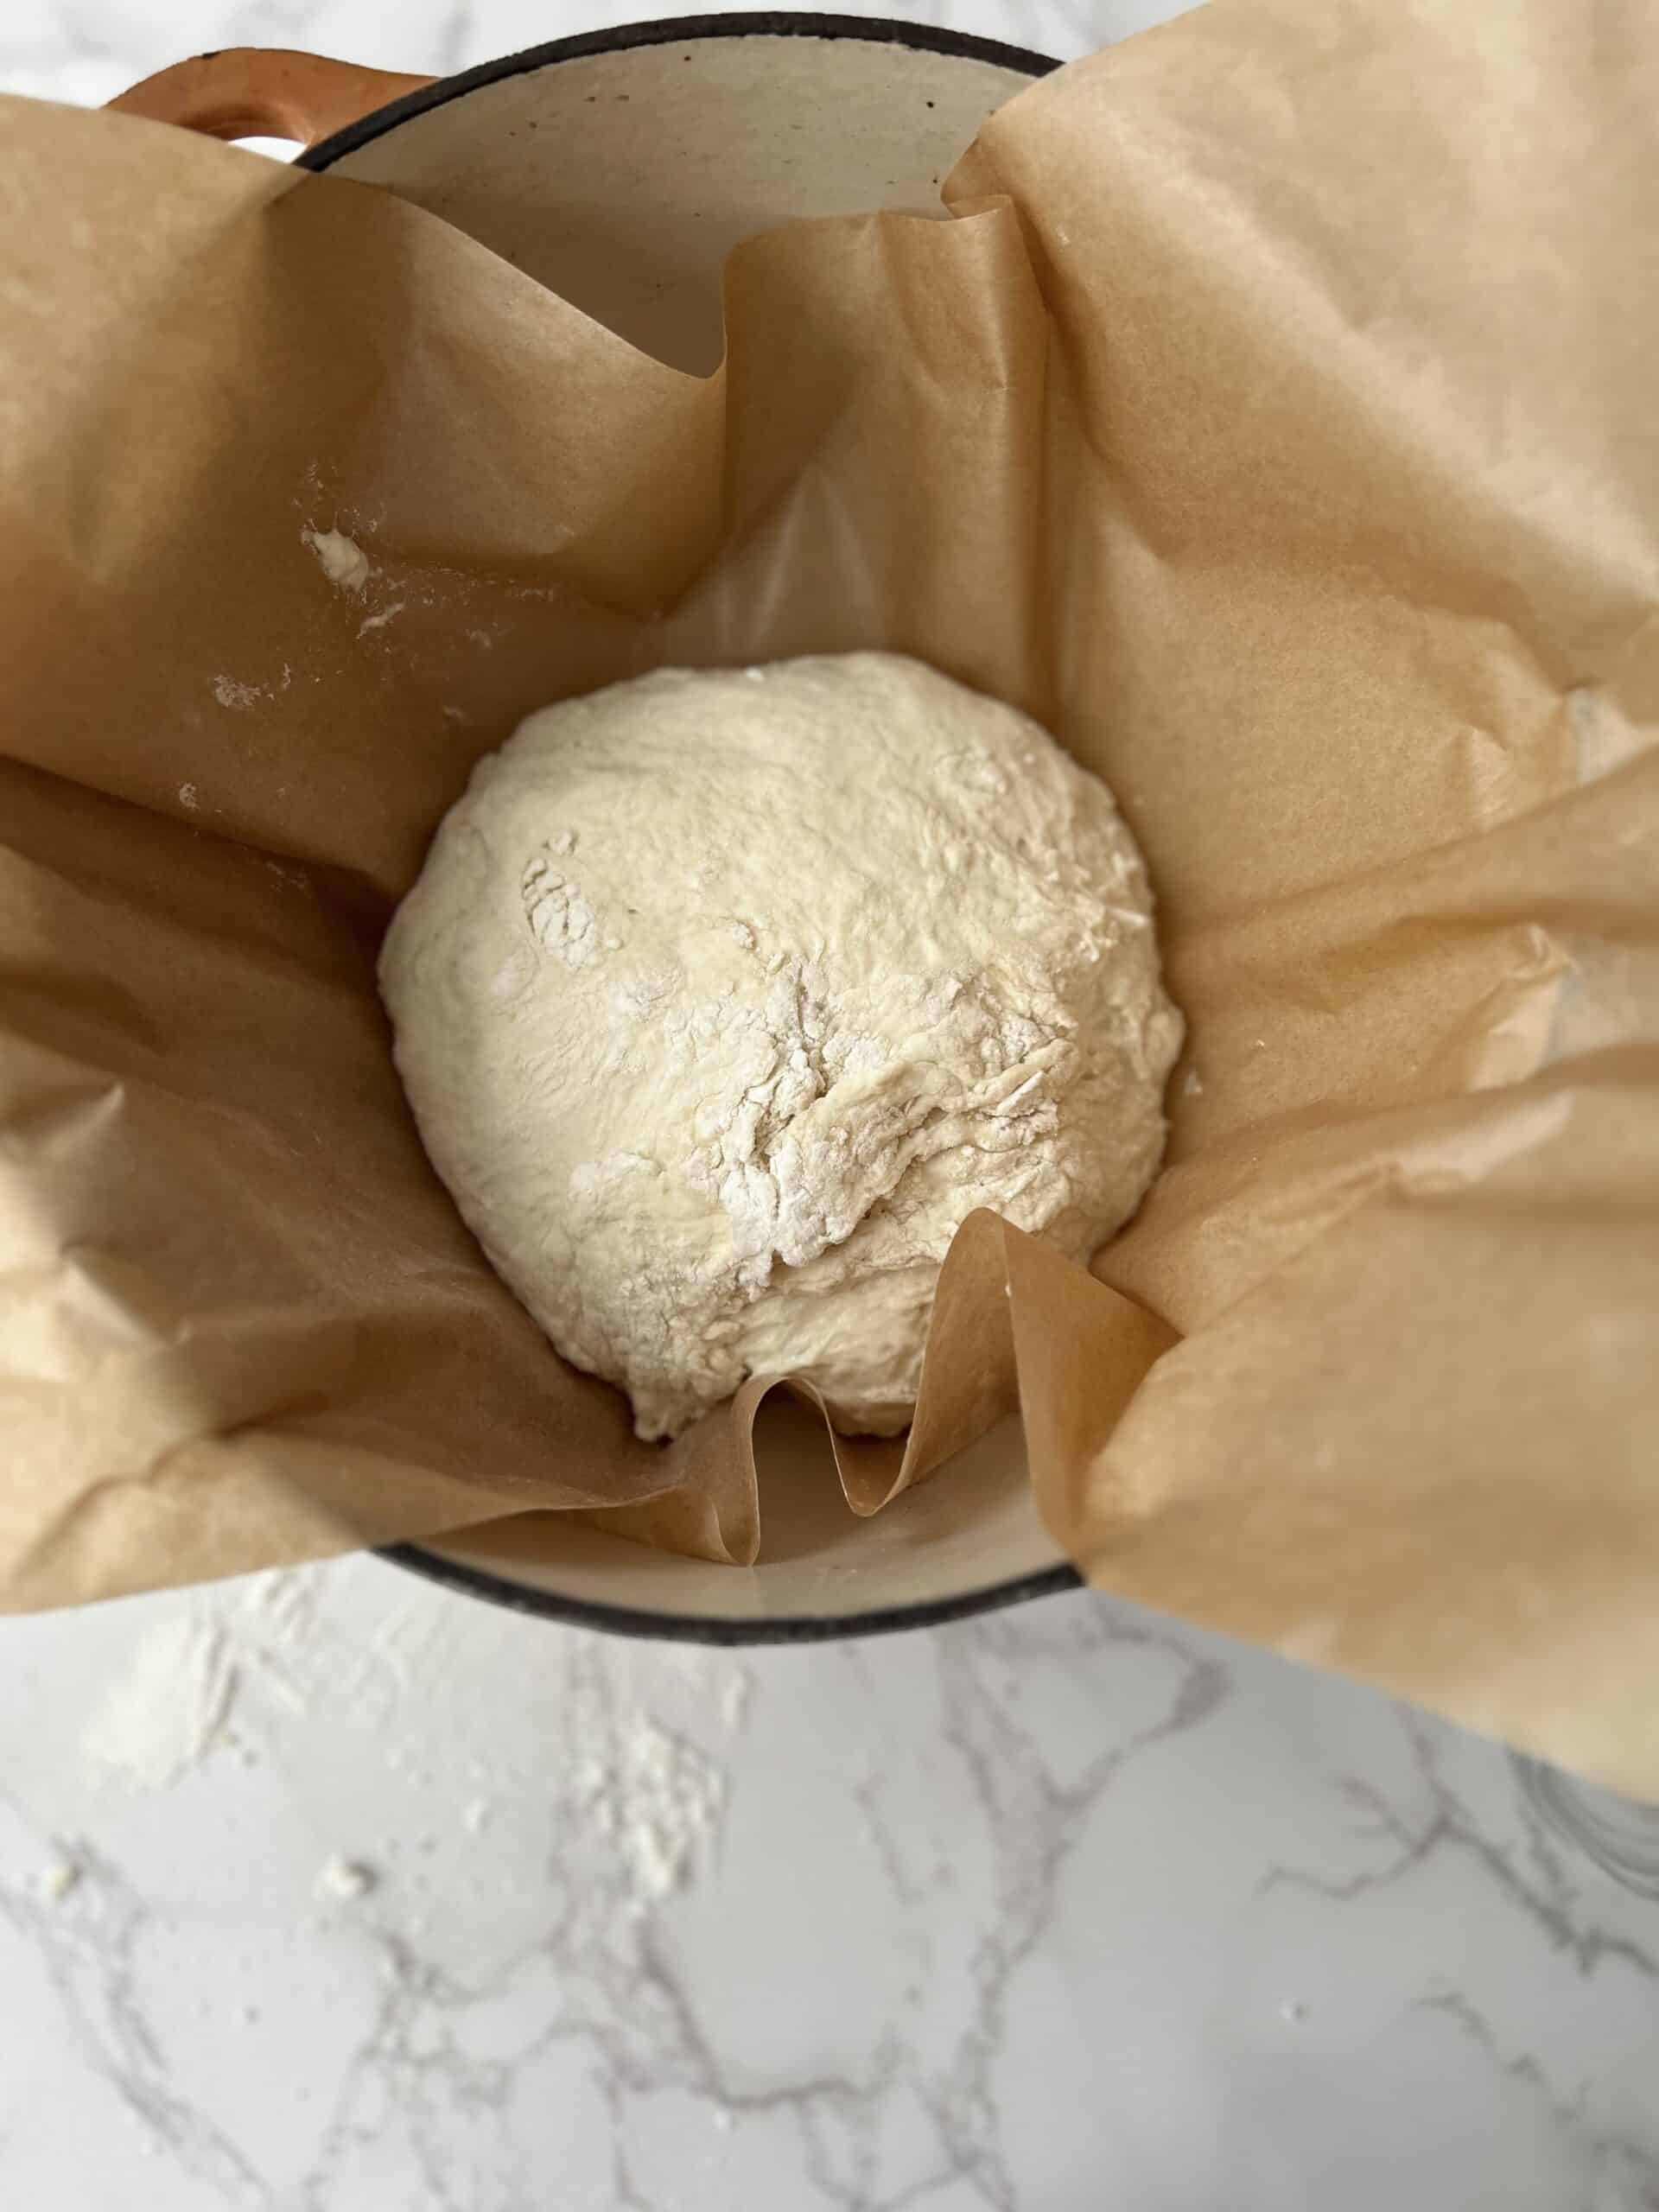
Once the dough has doubled in size, turn it out onto a floured surface. Gently fold the dough a couple of times to form a round shape.
Bake
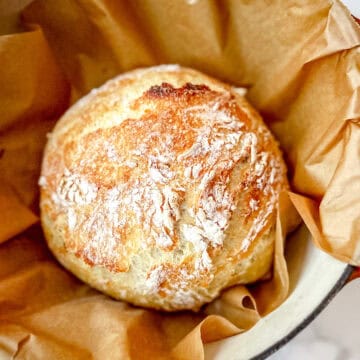
Once hot, carefully transfer the dough onto parchment paper and place it inside the Dutch oven. Cover and bake for 30 minutes, then uncover and bake for another 15 minutes until golden brown. The internal temperature should be 210 degrees Fahrenheit.
.

Cool Bread
Remove the bread from the oven and let it cool on a wire rack for at least 30 minutes before slicing. This allows the crumb to set properly.
No Knead Country Bread
Equipment
- 1 Large Mixing Bowl
- 1 Wooden Spoon or Spatula
- 1 Dutch Oven
- Parchment Paper
- Measuring Spoons
- Kitchen Scale
Ingredients
- 390 g bread flour or all-purpose flour
- 1 ½ teaspoons salt
- ½ teaspoon instant yeast
- 1 ½ cups 360ml warm water
Instructions
Mix the Dough
- In a large mixing bowl, combine the flour, salt, and yeast. Slowly pour in the warm water while stirring with a wooden spoon or spatula. The dough will be sticky and shaggy—this is exactly what you want.
Let it Rise
- Cover the bowl with a clean kitchen towel or plastic wrap and let it sit at room temperature for 2-3 hours, until it doubles in size.
Preheat the Oven and Shape the Dough
- Place the dutch oven in the oven and preheat the oven to 450. Once the dough has doubled in size, turn it out onto a floured surface. Gently fold the dough a couple of times to form a round shape.
Bake
- Put the bread on parchment paper and place it into the Dutch Oven. Place the Dutch Oven (lid on) and bake for 30 minutes, then uncover and bake for another 10-15 minutes until golden brown and the internal temperature reads 210 degrees fahrenhiet.
Cool & Enjoy
- Remove the bread from the oven and let it cool on a wire rack for at least 1-2 hours before slicing. This allows the crumb to set properly. Enjoy!
Comments
No Comments